Espresso Shot Time and Yield Chart
For a reliable espresso, aim for 18–30 seconds and use yield checkpoints tied to dose: 14 g → 25–27 g; 15 g → 27–29 g; 16 g → 29–32 g; 18 g → 32–36 g.
Weigh doses to ±0.1 g, adjust grind one notch at a time, and target 25–30 s for a balanced shot.
Distribute (WDT/tap) and tamp evenly at ~20–30 lb to avoid channeling. Follow the time, yield and tamp checks, and you’ll refine repeatable, balanced pulls.
Quick Overview
- Target espresso shot time: 25–30 seconds for a balanced extraction (normale range).
- Use dose-to-yield ratios as checkpoints: 14 g→25–27 g; 15 g→27–29 g; 16 g→29–32 g; 18 g→32–36 g.
- Adjust grind one notch at a time and log time, yield, and taste to reach target extraction.
- Distribute grounds (WDT, tapping) and tamp 20–30 pounds evenly to prevent channeling and ensure uniform flow.
- Watch color change, flow symmetry, and mouthfeel for syrupy sweetness versus bitter over-extraction cues.
Yield vs. Time (18–30s)
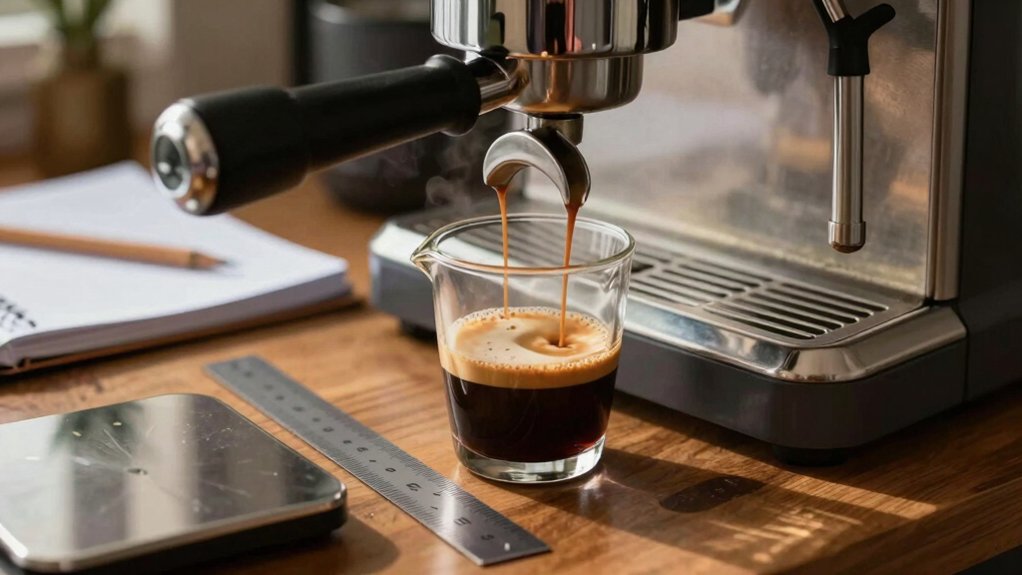
For shots pulled between 18 and 30 seconds, expect yields around 25–38 g on typical 14–18 g doses. The flavor shifts from syrupy sweetness at the short end to balanced sweetness and acidity near 30 s. You will watch color change and timing to judge extraction. Shorter runs concentrate sugars for an edible coffee syrup; longer runs bring aroma balance and acidity forward.
Dial by adjusting grind and tamp to hit target time without overextraction. Use yield targets as checkpoints and note mouthfeel and bitter edges when approaching 30 s.
| Dose (g) | Yield (g) |
|---|---|
| 14 | 25–27 |
| 15 | 27–29 |
| 16 | 29–32 |
| 18 | 32–36 |
Optimal Grind & Dose Checklist
How tightly should you grind and how much should you dose to hit your target yield and time? You’ll check grind consistency and dose calibration first: aim for uniform particle size and a repeatable mass that matches your brew ratio target. Adjust grind to move shot time into the 25–30s window for a normale; shorter for dark roasts and longer for light roasts. Use a scale and timer; log changes and make single-variable adjustments.
- Weigh dose precisely (±0.1g); set target based on 1:2 baseline and desired yield.
- Change grind one notch at a time; observe time shifts and puck resistance.
- Record shot time, yield, taste; iterate until balanced.
- Maintain grinder cleaning to preserve grind consistency and reliable dose calibration.
Tamp Pressure and Distribution
Now check your distribution and leveling before you tamp: techniques like WDT and channeling checks help you spot clumps and slope. Aim for evenness across the puck and use a calibrated tamp pressure (usually 20–30 lbs) to produce consistent resistance without over-compressing.
Consider tools: distribution tools, dosing funnels, and calibrated tampers help to standardize setup and improve shot repeatability.
Distribution Techniques
Why does distribution matter before you tamp? You’ll reduce channeling by evening the puck so water meets uniform resistance. Use simple distribution techniques: WDT, stockfleth, or tapping to spread grounds and break clumps created by inconsistent dosing. Watch grind consistency; if particles vary, distribution becomes more critical to avoid fast paths.
After distributing, apply tamp pressure steadily and level the base. You don’t need extreme force; consistent pressure stabilizes puck density and repeatability. Check the basket edge for stray grounds and remove them before locking in the portafilter.
Practice a routine: dose, distribute, level, tamp. That sequence shortens dialing time and yields more predictable extraction times and weights without relying on guesswork.
Evenness Assessment
Wondering whether your tamp and distribution are doing their job? You’ll perform an evenness assessment by observing puck resistance, flow symmetry, and extraction timing. After applying your chosen distribution techniques, inspect the coffee surface for flatness and consistent particle spread.
Lock the portafilter, start the shot, and watch for concentric, uniform streams. Channeling or early thin streams signal uneven bed density. Time the shot against your target yield; deviations often trace back to distribution or tamp inconsistencies. If a partial ring or side-biased flow appears, rework distribution and try again.
Record changes: slight adjustments in distribution techniques should produce repeatable, centered flow and consistent times. Use this methodical check to confirm an even puck before you tweak pressure.
Optimal Tamp Pressure
After you’ve confirmed an even puck by observing flow symmetry and consistent shot timing, assess your tamp pressure next to ensure uniform resistance across the bed. You should aim for consistent, repeatable tamp pressure; commonly around 20–30 pounds; so each puck presents the same hydraulic resistance.
Apply pressure straight down, keep the tamper level, and finish with a brief polish if you prefer. Avoid excessive twisting that can create channels. Pair your tamp with proper distribution techniques before tamping: use a WDT, distribution tool, or gentle taps to eliminate voids so tamp pressure compresses evenly.
Monitor shot time and flow after adjustments. If extraction quickens or streams favor one side, refine distribution and retamp with the same pressure until symmetry and target yield stabilize.
WDT And Leveling
How do you remove clumps and create an even surface before tamping? Start with a slow, targeted stir-through to break clumps, using a thin implement to separate compacted pockets. Observe the puck for gaps or high spots. Then, tap the portafilter gently to settle grounds.
For wdt leveling, distribute evenly across the basket, working from center outward to avoid ring channels. Check the rim for stray grounds that alter fit and pressure. When you feel uniform resistance, use a light, controlled tamp to lock the bed without compressing unevenly.
You’ll monitor leveling consistency by visual inspection and short test shots. Inconsistent flow or early channelling tells you where distribution failed. Repeat adjustments until pours look even and timed yields match your target.
Tools For Consistency
Why do tamp pressure and distribution tools matter? You rely on even puck density to control flow rate and extraction time, so consistent tamp pressure and proper distribution reduce channeling and cup variability.
Use a distribution tool to level and align grounds before tamping. Observe how adjustments change pre-infusion resistance. Practice contrast guidance by comparing tamped pucks side-by-side: note puck texture, springback, and initial flow.
Calibrate your tamper with simple calibration rituals: measure force, repeat strokes, and record times to match target yields. Aim for firm, repeatable pressure and identical distribution technique each shot. Small, measurable differences in setup predictably shift shot progression. Standardize tools and habits to stabilize extraction and achieve desired yield and flavor.
Frequently Asked Questions
How Do Water Temperature Fluctuations Affect Shot Yield and Taste?
You’ll notice yield and taste shift when temperature stability wavers: hotter shots speed extraction, increasing yield and bitterness. Cooler shots slow it, lowering yield and highlighting acidity. You’ll need grind consistency to compensate: finer for cooler, coarser for hotter to maintain desired yield and flavor balance.
Monitor temperature closely, adjust grind or dose in small steps, and repeat test shots until extraction time and taste sit within your target range.
Can Milk Steaming Temperature Influence Perceived Espresso Extraction?
Yes, milk steaming can change extraction perception. You’ll notice that hotter steamed milk hides acidity and emphasizes bitterness; this alters how you judge shot yield and water temperature effects.
Pay attention to ambient humidity, grind retention, and your maintenance schedule: they shift consistency. Use pressure profiling and tweak grind or dose to compensate. Then taste with milk at service temperature so your extraction perception matches real drinking conditions.
How Does Ambient Humidity Change Grind Retention and Dosing?
Ambient humidity increases static cling and moisture on grounds. As a result, you’ll see higher grind retention in grinders and portafilters. You’ll get dosing variation as fines stick to burrs or chutes when humidity rises; larger clumps form when it’s very humid.
To control this, you should adjust dosing technique, purge doses, weigh each dose, and clean the grinder regularly. Monitor ambient humidity and expect small, repeatable changes in dosing variation.
What Maintenance Schedule Prevents Inconsistent Flow Rates?
You should follow a weekly-to-monthly maintenance schedule to guarantee flow rate consistency. Clean group head seals, shower screen, and portafilter weekly. Backflush with detergent weekly or biweekly depending on use.
Descale and inspect boiler, valves, and pump monthly. Replace group gaskets and shower screen every 6–12 months. Log flow readings after maintenance. If flow rate drifts, recalibrate grind and check for channeling or worn parts immediately.
Are Pressure Profiling Machines Worth It for Home Use?
Yes, pressure profiling can be worth it for home use if you want precise control and enjoy experimenting. You’ll dial flow curves to shape sweetness, body and bitterness. You’ll notice subtle changes in extraction that matter with quality beans. It adds complexity, cost and maintenance; so don’t buy one unless you value reproducible tweaks and have time to learn.
For casual drinkers, a good conventional machine usually suffices.
Conclusion
You’ve now got a clear, actionable framework for dialing in espresso: aim for 18–30 seconds and the yield that matches your recipe. Adjust grind and dose methodically, and use consistent distribution and tamping to promote even extraction.
Check shot evenness; tweak tamp pressure and perform a WDT if channeling appears. Use reliable tools: scale, timer, distribution tool—to repeat results.
Practice these steps, observe changes, and refine until your shots hit your target every time.