How to Use a Stovetop Percolator Without Bitter Coffee
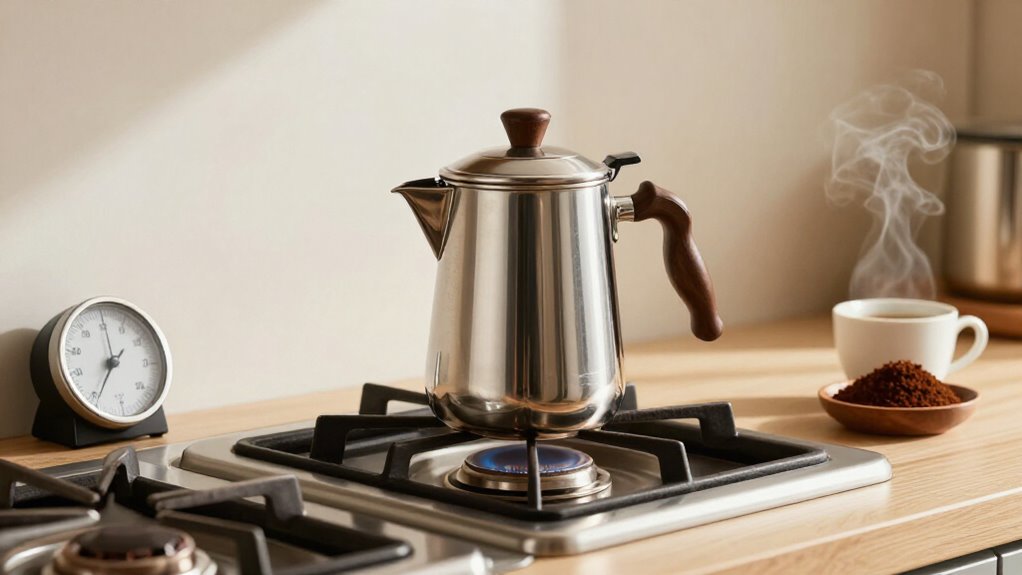
To use a stovetop percolator without bitter coffee, use medium-coarse grounds and don’t pack the basket.
Fill the lower chamber to its marked level, fit the stem and basket securely, and close the lid.
Start timing when gentle perking begins, then lower heat to medium-low.
Brew for 5–6 minutes, remove it from heat, and rest 30 seconds before pouring.
If coffee splutters, reduce heat and check the grind and fittings.
Keep going to refine steps.
Perking Time and Flavor
Once gentle perking begins, keep the heat at medium-low and brew for about 4–7 minutes: use 4 minutes for a lighter cup, 5–6 minutes for balanced flavor, and 6–7 minutes for a stronger brew. Maintain gentle bubbling rather than a vigorous boil, which drives excessive extraction and creates bitter, burnt notes. Watch the indicator knob or spout; if coffee surges aggressively, lower the heat immediately.
Don’t exceed 7–8 minutes of active cycling, because continued perking repeatedly extracts the brewed coffee.
When the selected time ends, remove the percolator from the heat. Let it rest for about 30 seconds before pouring. This brief pause stops hot cycling and allows the brew to settle without adding harshness. If your cup tastes bitter, shorten the next cycle. Log results.
Use Medium-Coarse Coffee Grounds
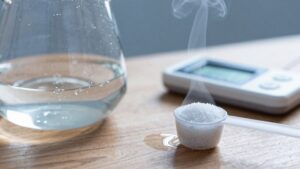
Start with a medium-coarse grind, about 600–900 microns, or roughly the texture of coarse sea salt. This size lets water flow through the basket while limiting fines, over-extraction, and grit. Use a burr grinder for even particles; if you use a blade grinder, pulse briefly, shake between pulses, and sift out powdery fragments.
Look for:
- Sea-salt-sized pieces flow freely through your fingers.
- Few dusty fines collecting beneath the grinder.
- A clean, rounded cup rather than a muddy, bitter one.
Avoid espresso-fine or powdery grounds: they can clog the basket, slow flow, and intensify bitterness. Grounds that are too coarse may produce weak, sour flavor. Grind fresh, fill the basket without packing, and follow the manual for basket compatibility. Start with 7–8 grams per 240 milliliters.
Step 1: Grab a Kitchen Timer
When should you begin timing? Start your kitchen timer the moment you see gentle perking: coffee should bubble through the knob or spout. At that point, reduce the heat to medium-low. You want controlled cycling, not aggressive boiling, and the timer will keep you from overlooking heat or elapsed time.
Set the timer for four to seven minutes of active perking. Stop before seven to eight minutes, because repeated cycling extracts harsh flavors and increases bitterness.
When the timer sounds, remove the percolator from the burner immediately. Let it rest for 30 seconds, then pour; don’t leave it cycling while you wait. If the coffee tastes weak, don’t extend the next brew past the limit. Instead, increase the coffee-to-water ratio on your next brew, using one tablespoon per five-ounce cup.
Step 2: Fill the Lower Chamber
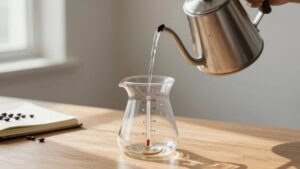
Fill the lower chamber with cold water, or just-off-boil water if your percolator’s instructions recommend it. Measure enough to match your intended servings, using the markings or a separate measuring cup for consistency. Don’t exceed the level beneath the bottom of the spout or overflow point; perking can force water upward and cause spills.
If your model includes a safety valve, fill only to the marked level just below it, never above it.
Keep the water level even across the chamber so percolator can cycle consistently during brewing. Check the water before applying heat and remove debris that could affect flavor. Work promptly after filling since an accurately measured reservoir gives you better control over extraction and helps prevent harsh taste from overflow or uneven flow.
Step 3: Insert Stem and Basket
With the water measured, position the stem securely over the tube in the lower chamber so it can return brewed coffee to the pot. Set the basket onto the stem, then press or fit it firmly in place. A secure connection directs hot water through the grounds rather than allowing it to escape around the basket’s edges. Add a coarse grind with a texture resembling French-press coffee or coarse sand.
This particle size promotes even flow and limits fine sediment that can intensify bitterness.
If your percolator accommodates one, lay a paper filter over the basket before adding the grounds; it’ll catch excess fines without stopping the brewing cycle. Fill the basket evenly, but don’t pack or compress the coffee. Seat the lid tightly.
Step 4: Lower Heat After Perking
As soon as you see the first bubbles rise through the glass knob, lower the burner to medium-low. You’re aiming for a steady, light perk, not a rolling boil. Let the coffee cycle gently for about 4–7 minutes after perking starts.
Watch the knob: bubbles should appear consistently but mildly. If they become hard and rapid, reduce the burner further. Excessive heat forces repeated, aggressive extraction, which commonly produces bitter, harsh coffee.
When the target time arrives, remove the percolator from the heat immediately. Residual heat can continue extraction, so don’t leave the pot on the burner. A short, 30-second rest is acceptable before you pour. If the coffee tastes bitter, shorten the next brew and lower the heat earlier. Keep your burner setting and perking time consistent.
Step 5: Keep the Lid Closed
Keep the lid tightly closed while the percolator brews so heat and pressure stay consistent as water cycles through the grounds. Don’t lift it to inspect coffee. Each opening releases steam, disrupts the perk rhythm, and can produce uneven extraction that increases bitterness. Instead, monitor through the knob and rely on a perk pattern.
Once perking begins, keep the heat low rather than opening the lid to cool the pot. Sharp or bitter flavor indicates excessive heat or time. Continue brewing only while the action remains steady, typically for four to seven minutes after perking starts. Then remove the percolator from the burner with the lid closed. Let it rest for about 30 seconds before pouring, allowing the brew to settle without further extraction.
Step 6: Wipe Spout After Pouring
After you’ve poured, wipe the spout and knob area with a damp cloth or paper towel. Remove drips and pooled coffee oils immediately, because dried residue can bake onto the surface, turn bitter, and transfer into your next pot. Let the percolator cool briefly, then wipe thoroughly for safe, complete cleanup.
Check the rim and underside of the lid as well. Wipe away oily specks or grounds that could drip back into the coffee stream during reassembly. If your model has a visible glass knob or top outlet, clean around it right after pouring; leftover concentrate can continue contacting hot metal and form stubborn buildup. Wipe after each brew.
Inspect Coffee Color
Watch the coffee through the percolator’s glass knob or top outlet as it cycles. At first, liquid may look pale; assess color after perking settles into a steady rhythm. Aim for a light golden-brown stream, signaling balanced extraction. Don’t wait for coffee to become darker: long cycling can add bitterness.
Time consistent perking, and stop four to seven minutes later. Going beyond seven or eight minutes often over-extracts. If coffee darkens rapidly, lower heat immediately, then shorten the interval next time.
Remove the pot from heat at your target color and time. Let it rest for about 30 seconds before pouring, allowing color and extraction to settle rather than darken from residual heat. Use this visual check alongside a timer for repeatable results each time.
Coffee Splutters From Spout
If the coffee starts spluttering from the spout, the heat is probably too high and the percolator is boiling aggressively. Once perking begins, switch to medium-low; you want calm bubbles every few seconds, not a rolling boil. Keep the water below the bottom of the spout, because overfilling encourages violent bubbling and splashing.
Use a French-press-coarse grind, which limits fines that can clog flow and create choppy perking. Brew for only 4–7 minutes after perking starts, then remove the pot from heat promptly. Let it rest for about 30 seconds before pouring.
| Symptom | Correction |
|---|---|
| Spitting stream | Lower heat |
| Violent bubbling | Reduce water level |
If spluttering continues, check the grind and confirm that the stem and basket sit correctly. Adjustments should produce steadier flow and flavor.
Descale Monthly With Vinegar
Mineral buildup can disrupt heat transfer and contribute to harsher, more bitter coffee, so descale your stovetop percolator monthly with a food-safe vinegar or citric-acid solution. Use the dilution and soak time specified by your manufacturer, since materials and seals may require different handling. Disconnect the percolator from heat, let it cool completely, and disassemble it. Wash out grounds and oils, then fill the reservoir with the cleaning solution.
Run the cycle without coffee, or soak the parts as directed. Empty and rinse components thoroughly. Then run at least one cycle with clean water only, without grounds, to remove vinegar taste. Dry and reassemble the pot. Keep brewing heat gentle and stop perking on schedule; descaling won’t prevent bitterness from excessive heat or over-perking.
Conclusion
To brew smooth coffee in a stovetop percolator, control heat and time rather than guessing. Use medium-coarse grounds, fill the lower chamber correctly, and secure the stem and basket. Watch the coffee’s color, and set a timer so you don’t overperk it.
If coffee splutters, lower the heat; wipe the spout after pouring. Finally, descale the percolator monthly with vinegar. These measured steps help you avoid bitterness and produce a consistently cleaner, more balanced cup.