How to Use a Coffee Dosing Cup for Less Mess and Better Espresso
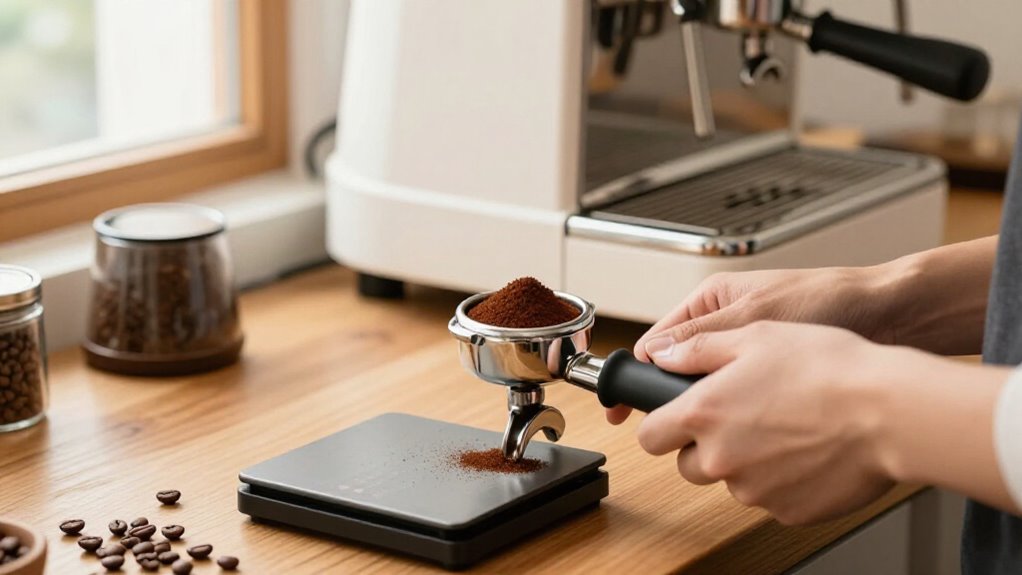
For less mess and better espresso, use a dry dosing cup and scale. Tare the cup, then grind 18–20 grams directly beneath the chute, keeping it close to catch fines.
Swirl gently to settle clumps, wipe the rim, and invert the cup over your portafilter in one controlled motion.
Tap lightly to release retained grounds without compressing them. Rinse the cup with lukewarm water after use, then dry it completely.
You’ll find more tips below.
Target 18–20g Dose Range
For a typical espresso basket, aim for an 18–20 g dose to support balanced extraction without overfilling. Tare your empty dosing cup on a scale, then add beans or collect grounds until the display reaches 18.0–20.0 g. If you grind into the cup, pause at your target weight instead of relying on time; grinder output can vary from shot to shot.
Transfer the coffee carefully by pouring or flipping the cup into your portafilter. Keep the grounds contained so your basket receives the intended dose, not less after spills. To check your workflow, weigh the cup or any leftovers after grinding. That difference reveals retention or transfer loss, helping you adjust your process and keep the effective basket dose within range. You’ll gain consistency.
Choose a 58mm Cup
Once you’ve settled on an 18–20 g dose, choose a 58mm dosing cup if your machine uses the commercial-standard portafilter size. Confirm your basket’s internal lip diameter before buying, because some home machines use 53–54mm sizes.
- Match the cup to your basket for a snug, reliable transfer.
- Choose stainless steel for durability, easy cleaning, and odor resistance.
- Consider a sandblasted or treated finish to reduce static cling.
- Check the cup’s height, rim, and capacity; it should comfortably hold your dose without crowding.
A 58mm design also opens access to commercial baskets and aftermarket accessories. Don’t assume every 58mm cup fits every setup: verify the manufacturer’s dimensions and compatibility before purchase. A food-safe coating can add style, but prioritize a durable surface that cleans easily.
Step 1: Position Cup Under Chute
With your 58mm cup selected, place it on a stable scale directly beneath the grinder’s chute, centering it so the falling grounds land fully inside. Keep the cup close to the chute outlet to limit scatter from fines and static. If your grinder allows height adjustment, lower the chute toward the cup without crowding it. This setup helps you capture the stream during single-dose workflows, where losses create mess.
Watch the stream as you grind and recenter the cup if the grinder shifts or the flow misses its middle. A stable position prevents bouncing grounds from reaching your counter and supports a cleaner transfer afterward. When grinding finishes, gently tap or swirl the cup to settle clumps before transferring the grounds into your portafilter.
Step 2: Tare the Dosing Cup
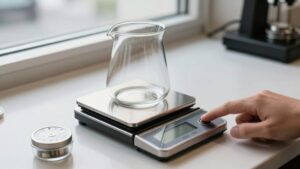
Before grinding, place the empty, dry dosing cup on the scale and press tare so it reads zero. This step removes the cup’s weight from the measurement, giving you a reliable baseline for every dose. Confirm the display stays at zero after you release the button.
Then add coffee until you reach your recipe’s target, often adjusting in 0.1-gram increments. Keep the cup on the scale while you make small corrections; don’t lift it and re-tare after each change. Removing it can hide a dosing error and encourage extra handling. Wait until the reading settles before making a final adjustment. Once the target weight appears, transfer the measured coffee promptly. Tare the cup whenever you switch to a different cup or clean one.
Step 3: Grind Directly Into Cup
Position the tared dosing cup directly under the grinder chute, then grind into it while monitoring the scale until you reach your target dose. Keep the cup close to the chute so grounds land inside rather than scatter across your counter or portafilter. If your grinder retains coffee or creates static, the scale may show slightly less than expected later.
Grind in short bursts if needed, and watch the reading closely. Don’t rely solely on the grinder’s timer, since dose output can vary with beans, grind setting, and retention. Once you reach your recipe’s dose, stop grinding and inspect the cup.
Lightly tap or shake it to settle the grounds and loosen clumps, but don’t compress them. Keep the cup dry and clean between coffees.
Step 4: Transfer Grounds Into Portafilter
Once you’ve reached your target dose, align the dosing cup’s rim with the portafilter basket and invert it in one controlled motion so the grounds land inside instead of spilling over. Keep the lip centered and level with the basket to prevent scraping the seal rim or trapping stray coffee around its edge. A snug match helps keep the transfer clean and tidy.
Before moving the cup, tare your scale with it empty and confirm your recipe dose, ideally within 0.1 g. After inversion, give the cup a gentle tap or shake to release retained grounds, but don’t press down or use it as a tamper. Lift it away, check the basket, and continue your preparation. This transfer reduces waste, cleanup, and dosing variation.
Step 5: Break Up Clumps First
With the grounds in the dosing cup, gently swirl and tap it to loosen clumps before transferring them to the portafilter. Watch for clumps larger than a few granules. Break them apart with a small pick, needle tool, or the tip of your distribution tool. Work lightly in the cup so you don’t grind the coffee finer or scatter grounds.
Let the coffee settle briefly, then give the cup a gentle shake to collapse remaining lumps. Follow the same routine every shot: swirl, light tap, brief settle, and transfer. When you move the grounds, use a slow, controlled stream rather than dumping them all at once. This keeps thick pockets from forming around the basket’s edges and helps create an even bed for extraction.
Step 6: Wipe the Cup Rim
Before transferring the grounds, wipe the dosing cup’s rim and pour lip with a dry, clean cloth. Keep the rim dry and free of fines, especially around the pour or invert edge, where static and buildup can create mess.
This quick step prevents stray coffee from dropping onto your counter or landing on the basket wall. If you grind directly into the cup, tap it gently only after cleaning the rim, so clumps don’t fling outward.
When you transfer the dose, align the opening carefully with the portafilter and avoid scraping the rim against its edge. After each shot, wipe the rim with a dry or slightly damp cloth. Make this a consistent habit to prevent old grounds from transferring on your next dose.
Verify No Grounds Remain
After you transfer the grounds, hold the dosing cup over the portafilter and tap it gently to release coffee clinging to the walls or base. Swirl the cup once before you pour again, guiding any remaining fines downward. Then pour slowly along the rim so coffee doesn’t stay trapped in a corner. Inspect the interior and rim before setting the cup aside, and confirm that the basket received the complete dose.
For a measurable check, tare the cup before grinding, grind to your target weight, and transfer the grounds. Weigh the empty cup afterward; the difference should match your target dose within expected retention. Repeat each shot until retention becomes predictable, then record leftovers and adjust your workflow when needed for reliable dose control.
Static Grounds Clinging
Fine espresso grounds can cling to a dosing cup through static, but a contained transfer keeps them from spraying onto your counter or portafilter rim. Keep cup dry: wipe it fully before grinding, and choose stainless steel because it often retains fewer grounds than plastic.
After grinding, tap gently so grounds fall as one mass instead of leaving thin static-stuck layers. During transfer, invert or pour carefully; don’t scrape the rim or basket wall, where cling concentrates. Tare the cup, weigh beans, and compare collected grounds after settling with your target dose. This check reveals retention, helping you adjust confidently. Transfer smoothly for a cleaner, repeatable espresso shot.
| Situation | What you do | Result |
|---|---|---|
| Dry cup | Wipe fully | Less cling |
| Gentle tap | Settle grounds | Fewer leftovers |
Rinse With Lukewarm Water
Keep your dosing cup clean with a lukewarm-water rinse after each use. Lukewarm water loosens fine coffee oils and static-prone grounds without warping plastic or loosening its seals. Swirl the cup or lightly agitate its interior with your hand to break up damp clumps left behind during grinding. This step prevents old fines from mixing with your dose.
For extra cleanup, wipe the cup, then rinse it again, paying special attention to the rim, where grounds often collect. Don’t use hot water, which may damage plastic models. After rinsing, let the cup air-dry fully before weighing your dose. Water droplets can add weight and dilute your measurement, undermining recipe consistency. A clean, dry cup helps you transfer grounds neatly and maintain espresso results.
Conclusion
With a dosing cup, you’ll control your 18–20g dose, keep grounds off your counter, and transfer coffee cleanly into a 58mm portafilter. Tare the cup, grind directly into it, wipe the rim, and check that no grounds remain.
If static makes grounds cling, tap gently before rinsing the cup with lukewarm water. These simple steps reduce waste and mess, so you can focus on dialing in a more consistent, satisfying espresso every time at home.