
Coffee Grinder Cleaning Schedule
You should follow a condition-based cleaning schedule: unplug and remove the hopper, empty beans, and inspect burr faces, chute, and rim daily for fines and oily film. Brush and purge pellets on burrs, tap/vacuum the chute, and wipe the hopper.
Wash and fully dry the hopper weekly for moderate use, monthly for light use, and sooner for dark roasts. Verify burr alignment torque with a calibrated wrench on a regular interval. Continue for detailed steps and specs.
Quick Overview
- Inspect burr faces, chute, and hopper rim daily for fines or oily film. Shorten intervals for dark roasts or frequent roast changes.
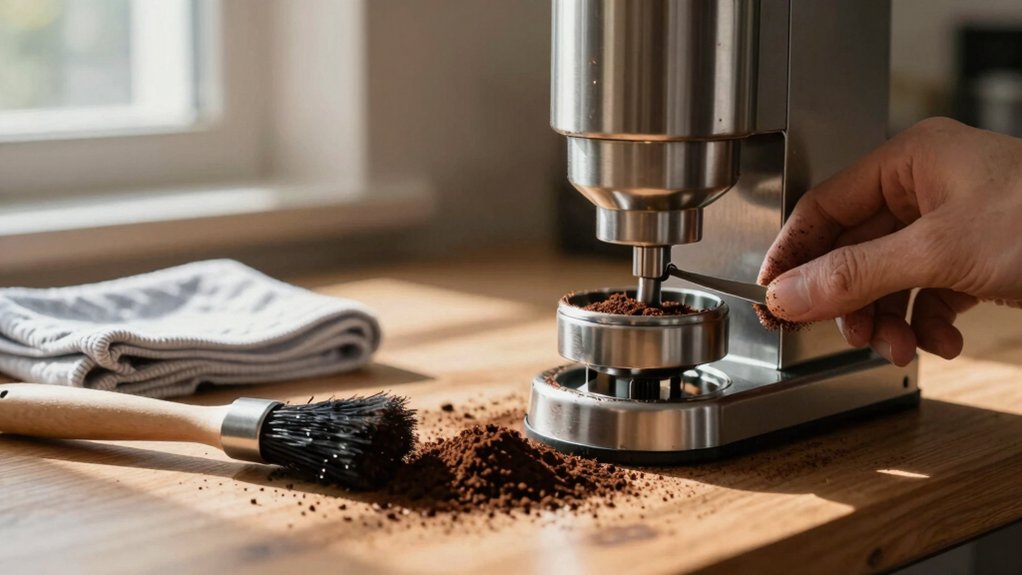
- Quick daily clears: unplug, brush burrs with an antistatic brush, tap and vacuum chute/doser, and purge pellets if needed.
- Weekly for 250–500 g/week prosumer use: remove hopper, wash and fully dry, then reassemble without overtightening.
- Use cleaning tablets for persistent oils. Never use water on burrs and log each cleaning intervention and roast type.
- Verify burr alignment torque with a calibrated torque wrench regularly: weekly for commercial, biweekly for 8 weeks for prosumer, and every 3–6 months for domestic.
Grind Residue Accumulation Chart
What parts of your grinder trap the most residue? You’ll inspect burr faces, chute, and hopper regularly to control grind residue and follow the cleaning schedule. Identify accumulation zones; then act.
| Zone | Typical Residue | Action |
|---|---|---|
| Burr surfaces | Compact fines/oils | Brush + purge pellets |
| Chute/doser | Retained grounds | Tap, vacuum, brush |
| Hopper rim | Oily film | Remove, wash, dry |
Procedure: Unplug, disassemble per manual, use antistatic brush and suction to clear trapped particles. Avoid water on burrs. Run cleaning tablets if oils persist. Log each intervention against your cleaning schedule: daily quick clears, weekly deep checks for high-volume use, and longer intervals for low-use domestic grinders. Reassemble dry and recalibrate where required.
Bean Hopper Cleaning Interval
After you inspect burr faces, chute, and hopper rim for residue, set a fixed cleaning interval for the bean hopper based on use: daily quick wipes for commercial/high-volume grinders; weekly wash-and-dry cycles for prosumer units at 250–500 g/week; and every three to six months for low-use domestic grinders. Shorten this interval to monthly for dark roasts or frequent roast/espresso switching.
- Remove hopper, empty beans, and perform a visual and tactile check for oil or fines. Wash with mild detergent, rinse, and fully dry before reassembly.
- Record date, condition, roast type, and any notes about increased chute retention or dosing variance. These indicators trigger earlier cleaning.
- After reassembly, verify safe torque adjustment points on hopper fittings per manufacturer guidance. Don’t overtighten. Maintain this schedule and log for compliance and consistent performance.
Burr Alignment Torque Specs
You’ll set and verify burr alignment torque within a narrow recommended range to protect burr geometry and motor. Use a calibrated torque wrench or inline screwdriver gauge; follow the specified adjustment procedure and record values for compliance.
Check and re-torque at prescribed maintenance intervals or whenever grind behavior, dosing, or unusual noise indicates torque drift.
Recommended Torque Range
Because precise burr alignment depends on correct clamping force, you should tighten adjustment and retention screws to a recommended torque range rather than guessing by feel. Apply torque values specified by the manufacturer: typically low single-digit Nm for adjustment collars and slightly higher, up to 5–8 Nm, for retention bolts on commercial flat-burr assemblies. Use a calibrated torque driver to ensure repeatable alignment and avoid burr distortion.
Follow published torque specs and sequence bolts in a star pattern where applicable. After cleaning away grind residue, set the torque driver to the specified value. Torque each fastener steadily and verify runout or gap per service instructions. Record applied values in maintenance logs and recheck after the first 24–48 hours of use to confirm stability.
Torque Measurement Tools
How will you ensure burr alignment stays repeatable and within spec? Use calibrated torque measurement tools: a digital torque wrench with low-range capability (0.5–10 Nm), a torque screwdriver set for fine adjustments, and a traceable calibration certificate.
Before maintenance, verify tool calibration date and zero reading. Record target maintenance torque from manufacturer and set the tool to that value. When measuring, mount the burr assembly securely, apply torque slowly until the tool signals, and log the peak reading.
Perform three measurements and average results; flag deviations beyond tolerance. Maintain a calibration log, recalibrate tools per schedule, and replace batteries routinely. These steps ensure compliance, repeatability, and documented verification of burr alignment torque.
Torque Adjustment Procedure
Having confirmed your torque tools are calibrated and readings logged, set the target burr alignment torque per manufacturer spec before making adjustments. You’ll lock the grinder, remove hopper and access covers, and mount the torque wrench on the upper burr carrier.
Apply torque slowly until the specified value is reached; hold for the manufacturer’s dwell time, then release. Record the final torque measurement and compare to the target. If outside tolerance, repeat adjustment in small increments.
Reinstall parts, run a test purge, and verify dose consistency. Document all steps, readings, and any corrective actions for compliance. Maintain tool calibration schedule and immediate reporting for repeated deviations to prevent long-term torque impact on burr life and grind consistency.
Torque Impact On Grind
When you set burr alignment torque to the manufacturer’s specification, you directly control burr concentricity and consistent grind particle distribution. Applying too little torque allows micro-misalignment and irregular fines. Over-torquing can deform carriers or stress bearings; both degrade dose repeatability and extraction consistency.
You should perform torque calibration with a calibrated torque wrench, follow specified Nm values, and document each adjustment. Verify grind performance after each change by measuring particle distribution and dose variance. If you detect increased fines, chatter, or drift, recheck torque and alignment immediately.
Use manufacturer-approved fasteners and retainers. Replace damaged components rather than compensating with higher torque. Record torque values in your maintenance log for compliance and traceability during audits or service reviews.
Maintenance Torque Intervals
Torque settings you establish during burr alignment determine how often you’ll need to check and re-torque components. Proper intervals reduce drift, prevent deformation, and preserve dose repeatability. You should document target torque values for upper and lower burr mounts, note tool type, and mark fasteners for visual inspection.
For commercial use, verify torque weekly and re-torque monthly. For prosumer/home heavy use, verify biweekly and re-torque every 6–8 weeks. Light domestic use requires verification every 3–6 months with re-torque at six months. Integrate torque reliability checks into maintenance scheduling; tie them to cleaning cycles and calibration checks.
Use a calibrated torque driver, record readings on a log, and follow manufacturer torque specs to maintain compliance and repeatable performance.
Frequently Asked Questions
How Often Should I Replace Burrs on a Home Grinder?
You should replace burrs every 1–3 years depending on usage. Set a replacement interval based on weekly throughput and roast type. Inspect for burr wear indicators monthly: increased retention, inconsistent grind, unusual sounds, oily residue, or longer pull times.
When you see those signs or after 3–5 pounds of coffee for high-use home grinders, schedule replacement. Document service date and recalibrate grind settings post-installation to maintain compliance and consistent extraction.
Can I Use Dish Soap on Metal Burrs?
You shouldn’t use dish soap on metal burrs. Disconnect and remove burrs, then dry-brush or vacuum to remove grounds. Avoid water on exposed bearings or motor parts. If burrs are greasy, wash only the removable hopper and catch bin with dish soap, rinse, and dry fully.
For metal burrs, use food-safe degreasers sparingly per manufacturer instructions. Then dry completely and reassemble, recalibrating if needed.
Do Cleaning Pellets Affect Flavor for a Few Doses?
Yes, cleaning pellets can cause a temporary flavor impact for a few doses. You should run a short purge of beans (about 10–20 grams) or discard the first 2–4 shots after using pellets to eliminate residue.
Follow procedure: stop grinder, add pellets per instructions, run purge cycle, then flush with fresh beans. Verify taste; repeat purge if residual off-flavors persist before resuming normal dosing.
Is It Safe to Run Grinder Briefly Without Beans?
Yes, it’s safe to briefly run the grinder without beans. You should unplug before disassembly; however, for short bursts, keep the hopper empty, run for 1–2 seconds, then stop. Use this to purge fines or clear jams.
Avoid prolonged empty running to prevent excess wear and heat. Afterward, inspect burrs for debris, brush out residues, and recalibrate dosing if needed to maintain compliance with maintenance intervals.
Can I Clean Electric Parts With Compressed Air?
Yes, you can use compressed air for electric components if you follow electrical safety considerations. Power off and unplug the grinder. Remove the hopper and accessible parts, and ground yourself.
Hold cans upright, use short bursts, and keep the nozzle 6–8 inches away to prevent moisture and weaponizing debris. Use air-assisted cleaning to dislodge fines; then vacuum residues. Avoid spraying directly into motors, switches, or PCB boards. Allow components to dry before reassembly.
Conclusion
You’ll follow this schedule to keep grind quality consistent and equipment compliant. Clean the hopper after each bean change, and empty it daily. Purge grounds and vacuum the chute weekly.
Check burr alignment torque with a calibrated wrench monthly; keep torque within the recommended range and log readings. Adjust torque per procedure immediately if readings fall outside tolerance. Record all maintenance actions, dates, and operator initials to meet audit and safety requirements.