Coffee Tasting Notes Template
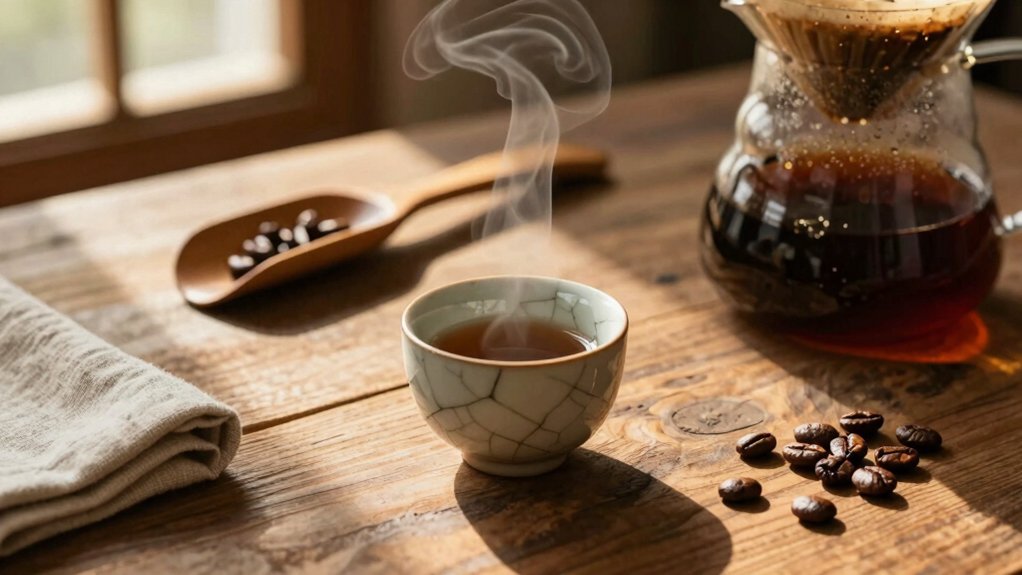
Use this compact tasting template to map aroma, acidity, sweetness, body, and finish cup-by-cup so you can calibrate brew variables. Note roast, dose, grind setting, extraction time, and exact water temp for each cup.
Rate floral, citrus, nutty, chocolate, and balance against your anchor profile. Adjust grind finer to speed extraction or coarser to soften acidity; tweak temp within 90–96°C based on roast. Follow the sheet and you’ll uncover precise links between taste and technique.
Quick Overview
- Start with metadata: origin, roast level, processing, roast date, brew method, dose, grind, water temp, and extraction time.
- Use a Cup-By-Cup Flavor Matrix to map primary (anchor) and cup-specific tasting notes for pattern calibration.
- Record sensory categories: aroma, acidity, sweetness, body/mouthfeel, flavor, finish/aftertaste, and balance.
- Quantify impressions with scales (e.g., 1–10) and concise descriptors: floral, citric, chocolate, nutty, etc.
- Add brewing controls and observations: grind size, temperature setpoint, bloom/drawdown timing, and consistency checks.
Cup-By-Cup Flavor Matrix
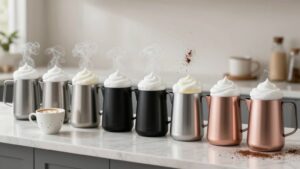
How do individual cups map onto a consistent flavor framework? You document each cup methodically, noting colour, aroma, mouthfeel and taste so you can compare across sessions. You’ll set reference cups as anchors; label one as a “10/10” for specific descriptors; and calibrate language with colleagues to keep terms consistent. You record grind size and extraction times for repeatability. Then you link sensory impressions to those parameters. That creates a searchable archive you consult when a profile shifts.
| Cup ID | Key Descriptor |
|---|---|
| Anchor (10/10) | Balanced, chocolate |
| Cup A | Floral, tea-like |
| Cup B | Citrric, bright |
| Cup C | Nutty, full-bodied |
This matrix highlights patterns and supports objective calibration.
Grind Size & Extraction Times
With your Cup-By-Cup Flavor Matrix as an anchor, you can link sensory changes directly to grind size and extraction times so adjustments become measurable rather than guesswork. Use grind consistency and extraction timing as your control variables: note particle distribution, adjust burr settings, and record resulting acidity, sweetness, and body. Focus on measurable steps.
- Dialing finer increases extraction speed per surface area; this often brightens acidity and tightens mouthfeel. Shorten extraction timing to avoid overextraction.
- Dialing coarser reduces surface contact, softening acidity and lowering perceived sweetness. Lengthen extraction timing to reach balance.
- Consistency checks: sieve or micrometer results, paired with timed brews, let you correlate matrix scores to specific grind settings and extraction timing for repeatable cups.
Water Temperature Range
You’ll note the optimal brewing temperature range (typically 90–96°C) because it directly controls extraction rates and the balance of acidity, sweetness, and bitterness.
Consider how different methods—pour-over, espresso, immersion—require specific setpoints and how roast level should nudge temperature up or down for balance. Track temperature stability and control during the brew; fluctuations change extraction dynamics and the cup’s final clarity.
Optimal Brewing Temperatures
Why does water temperature matter so much when you brew coffee? You control extraction kinetics and solubility by choosing a target temperature range; you’ll influence clarity, body, and perceived sweetness without invoking the separate topic of temperature effects on extraction.
For most methods, aim between 90–96°C (195–205°F). Pour-overs and immersion can sit slightly lower for delicate profiles, while darker roasts tolerate the upper end. Treat temperature as a parameter in your brewing dynamics checklist: steady heat, measured kettle, and consistent contact time.
Ignore extremes. Boiling or tepid water is not relevant to repeatable results. Record the temperature on your tasting sheet so you can correlate it to aroma, mouthfeel, and balanced flavours.
Temperature Effects On Extraction
How does water temperature shape extraction? You control soluble yield by choosing a narrow temperature band; temperature precision matters. Slight increases speed extraction of acids and sugars, producing brighter acidity and earlier sweetness. Lower temperatures slow solubilization, favoring delicate aromatics but risking under-extraction and thin body.
Gradual shifts accentuate different compounds: volatile aromatics extract fastest, then acids, then bitters and heavier sugars. You watch sensory impact closely; balance, aftertaste length, and mouthfeel change with each few degrees. Use consistent measurements when recording tasting notes so comparisons are valid. Note perceived acidity, sweetness, bitterness, and textural shifts alongside exact temperatures.
This methodical approach ties objective brewing data to subjective flavor assessments.
Water Temperature For Brewing Methods
Which temperature band do you pick for your brew method, and what will that choice pull from the cup? You’ll choose a range: generally 90–96°C for filter and immersion, 85–93°C for delicate light roasts, and higher for darker profiles based on desired extraction. Use precise brewing metrics: water temperature, grind, dose and contact time. Then record sensory timing for key moments (bloom, drawdown, first sip).
Cooler bands emphasize acidity, floral clarity and delicate sweetness. Hotter bands increase body, caramelization and bitterness risk. Measure temperature at brew start; note any drop over the session and link observed flavours to the band used. That methodical record helps you compare how temperature choices shift aroma, taste and mouthfeel.
Temperature Stability And Control
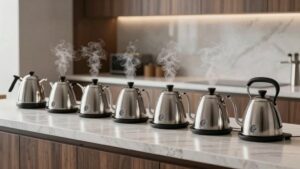
Ever noticed how a steady water temperature makes the same brew taste consistently different from one cup to the next? You’ll track temperature stability because small shifts change extraction speed, acidity perception, and body. Measure with a thermometer or PID-equipped kettle, logging initial pour and plateaus during brew.
Note target range and deviations on your tasting sheet to link sensory changes to numbers. Use control strategies like preheating equipment, using insulated vessels, and pacing pours to minimize drop. For immersion methods, stir and cover; for pour-over, split pours to recover heat.
Be methodical: record ambient temp, water volume, and time at temperature. Consistent temperature stability helps you compare coffees without confounding variables.
Adjusting Temperature For Roast
Want to dial water temperature to match roast level? You’ll use adjusting temperature deliberately: Lighter roasts extract brighter acids and floral notes best at 93–96°C. Medium roasts often sit well at 91–94°C to balance sweetness and acidity. For darker roasts, lower to 88–92°C to prevent over-extraction and bitter roast impact.
Measure with a calibrated thermometer. Note ambient changes and correct for kettle heat loss during pours. Brew small test cups, change temperature in 1–2°C steps, and record sensory shifts on your tasting sheet.
Be methodical: Keep dose, grind, and brew time constant so roast impact isolates clearly. Use these controlled trials to set your preferred water range for consistent, repeatable tasting notes.
Frequently Asked Questions
How Do I Record Cupping Date and Taster Details?
Record the cupping date and recording taster details on your tasting sheet immediately before cupping. Note the date, time, cupping round number, location, and brew parameters for accurate tracking.
For recording taster details, list each taster’s full name, role (e.g., lead cupping, panelist), contact or affiliation, and any palate notes or calibration scores. Keep entries legible, dated, and signed to ensure traceability and consistency.
What’s the Best Way to Describe Mouthfeel Textures?
Describe mouthfeel textures by naming mouthfeel descriptors, then link them to sensory anchors and texture pairings. Start with broad scale (watery → velvety). Add specific tags (buttery, creamy, chalky, oily).
Note temperature and coating; rate intensity and persistence. Compare to reference samples. Use precise phrases; record contrasts (smooth vs. dry). Suggest texture pairings that explain interactions with acidity, sweetness, and aftertaste for consistent cupping notes.
How Do I Distinguish Dry Fragrance From Wet Aroma?
You tell them apart by technique: distinguishing aroma relies on sniffing both dry grounds and wet cup. Fragrance vs. aroma shows when you inhale dry coffee; floral, spice, baked notes pop as fragrance. When you pour hot water and break the crust, wet aroma unfolds: fruit, caramel, fermented scents become more pronounced.
Compare intensity, volatility and persistence. Note which compounds shift from fleeting dry fragrance to richer, sustained wet aroma.
Which Aroma Map Loops Should I Include on Notes?
Include both top and bottom aroma map options: pick looping aroma families from each loop so your tasting note structure captures dry vs wet aroma. Use sensory descriptors tied to cupping protocol. Record data recording methods clearly, and note mouthfeel vocabulary.
Add sweetness scoring, uniformity scoring and aftertaste evaluation. This methodical approach ensures balanced, precise notes that link aroma loops to flavour, texture and overall cup quality.
How Do I Score Sweetness, Uniformity, and Aftertaste?
Score sweetness by tasting perceived sugar intensity from delicate to syrupy. Assign 6–10 per SCA guidelines.
Rate uniformity by sniffing and cupping multiple cups; give a single consistency score reflecting batch evenness.
Judge aftertaste for length and quality, scoring short to lingering. Use these scores alongside popularity metrics and pricing strategies to prioritize beans for market testing and menu placement. Document methodically and numerically.
Conclusion
You’ve now got a systematic way to evaluate and dial in your brews. Use the cup-by-cup flavor matrix to record nuances, note grind size and extraction times, and track water temperature and stability.
Adjust temps based on roast level: cooler for lighter, warmer for darker. Tweak grind and time to correct extraction. Be methodical; make one change at a time, document results, and repeat until you consistently hit your desired balance and clarity.