Espresso Machine Low Pressure Troubleshooting
If your espresso has low pressure, don’t assume the boiler gauge tells the whole story: Pressure appears only when flow meets resistance. Check pump RPM and listen for cavitation (sputter, high-pitched noise).
Verify inlet feed and airtight fittings, and measure flow rate under load.
Isolate the puck with a blind basket to test OPV, gicleurs, and hoses. Inspect the shower screen, backflush, and adjust grind/dose/tamp. Continue for step-by-step diagnostics and fixes.
Quick Overview
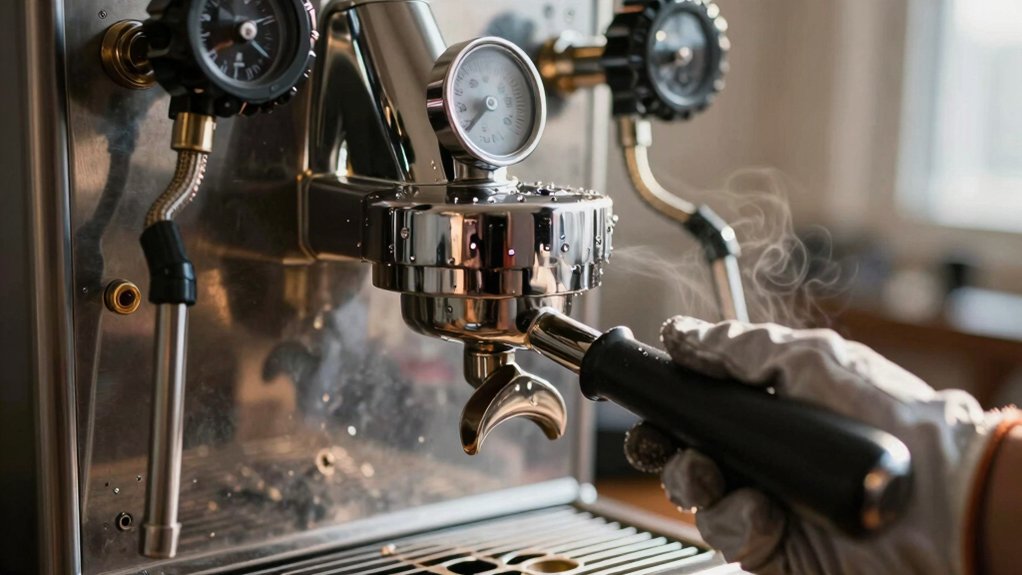
- Check brew pressure under load at the group with a gauge; boiler gauge alone is misleading.
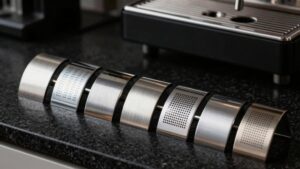
- Use a blind basket to isolate machine flow behavior from grind, dose, and tamp variables.
- Inspect pump RPM, inlet conditions, and listen for cavitation: rattle, sputter, foamy discharge.
- Verify OPV, gicleurs, hoses, and shower screen for restrictions, leaks, or scale build-up.
- Adjust grind/dose/tamp to control puck resistance and pressure ramp.
- Re-test flow rate and extraction time.
Boiler Pressure vs. Flow
Because pressure only exists when flow meets resistance, do not equate boiler pressure with grouphead extraction pressure. You will track boiler cycling and note thermal expansion raises boiler pressure during heat pulses while expansion valves vent excess. That is boiler behavior, not extraction control. You must measure at the puck, not the boiler gauge, because OPV and flow restrictions set brew pressure.
Adjust flow and puck resistance: grind, dose, tamp to control pressure ramp. Diagnose by isolating flow paths; verify OPV, gicleurs, and hoses. Remember smaller flow restrictors increase pressure drop. As the puck saturates, resistance climbs and grouphead pressure reflects that, independent of boiler cycling. Targeted adjustments restore consistent extraction without chasing boiler numbers.
| Heat | Flow | Feeling |
|---|---|---|
| Pulse | Restricted | Tense |
| Stable | Smooth | Calm |
| Spike | Dumping | Alarm |
| Drift | Weak | Frustration |
Pressure, Flow, PSI Checklist
How do you confirm that pressure, flow, and PSI are healthy for extraction? You run a methodical checklist: verify gauge readings, measure flow rate, inspect for leaks, and confirm dose/tamp resistance. Use a blind basket to isolate machine behavior from grind/dose. Avoid topic pairing errors that confuse machine faults with unrelated focus on technique alone.
Read brew gauge at 9–10 bar under load; note deviations. Time 30–40 ml in 25–30 seconds; adjust grind/dose if flow is off. Check for visible returns to tank or leaking hoses that bleed pressure. Backflush and clean shower screen to restore even distribution and true PSI.
Document results. Repeat after each adjustment to isolate cause precisely.
Pump RPM and Cavitation
Check the pump’s RPM because speed directly affects delivered pressure and flow rate. Slow RPMs can indicate wear or drive loss. Listen and watch for cavitation: intermittent sputtering, air noise, or foamy discharge at the wand or group head signals vapor pockets forming.
Measure RPM with a tachometer or use flow tests. Inspect for inlet restrictions or air leaks and follow routine maintenance: clean strainers, replace worn beads and O‑rings, and descale to prevent cavitation.
Pump Speed Effects
Wondering what happens when your pump spins too fast or too slow? You’ll alter flow, pressure stability, and component stress. Pump rpm directly sets volumetric flow: higher rpm raises flow and peak pressure; lower rpm reduces both. You must match rpm to the machine’s hydraulic design. Excessive speed can overload the OPV, fittings, and seals. Too low, and you won’t reach extraction pressure.
Rapid rpm changes also affect cavitation risk indirectly by changing inlet pressure and vapor formation. Maintain proper inlet conditions: steady feed, minimal suction lift, and clean filters. If you adjust motor control or replace a pump, test at target rpm under load and monitor pressure response and noise. Calibrate incrementally and document results for reliable troubleshooting.
Cavitation Signs
Ever notice a rapid, high-pitched rattling from the pump during startup or under load? That sound often indicates cavitation. You’ll also see fluctuating flow and sporadic pressure drops as the pump rpm hunts.
Cavitation causes include vapor bubble formation from low inlet pressure, air ingestion, or excessive pump speed relative to available supply. Measure pump rpm indirectly by observing frequency of the noise or using a tachometer on compatible pumps; irregular rpm under load correlates with collapsing vapor pockets.
Inspect inlet lines, check tank water level, and confirm fittings are airtight to eliminate air entry. Reduce pump rpm or fit a proper inlet filter/suction hose to restore steady hydraulic conditions and stop cavitation.
Flow Restriction Causes
When pump rpm runs too high or cavitation starts, you’ll see intermittent flow drops and noisy vibration that directly restrict effective water delivery to the group head. These symptoms point to hydraulic limitations rather than grind or gasket faults. You should inspect pump wear first: worn bearings and weakened seals change discharge characteristics and amplify cavitation risk.
Check for upstream flow restriction: clogged shower screens, scale, or collapsed hoses reduce inlet pressure and provoke vapor pockets. Don’t assume grinding burrs cause hydraulic loss; verify grind-related flow separately.
Addressable actions include replacing worn pumps or beads, clearing scale, and restoring hose integrity. Set maintenance intervals for pump and descaling work based on usage to prevent recurrence and preserve consistent delivery.
RPM Measurement Methods
How do you measure pump RPM accurately to diagnose cavitation and performance loss? You attach a tachometer to the pump shaft or use a non-contact laser tachometer aimed at a marked rotating surface. Record steady-state rpm measurement under load (group open and closed) and compare to manufacturer specs. Log rpm vs. boiler pressure to detect correlation: cavitation often appears when rpm spikes as boiler pressure drops or when rpm falls under load.
Listen for irregular noise and inspect the inlet for air leaks during rpm testing. Use short-run tests to avoid overheating. If rpm anomalies coincide with low boiler pressure or erratic pressure gauge readings, suspect cavitation, inlet restriction, or failing pump bearings. Proceed to targeted component inspection.
Preventive Maintenance Steps
Measuring pump RPM and watching for cavitation give you data you can act on to prevent failures. Start a routine that pairs RPM checks with visual and auditory inspections so you catch early signs of wear or inlet air. Use a tachometer or smartphone app to log RPM under no-load and brew conditions; compare to baseline and flag deviations greater than 10%.
Inspect inlet lines for air, kinks, and scale. Cavitation shows as sputtering flow and high-frequency noise. Combine weekly shower-screen cleaning, monthly descaling, and routine back-flushing to preserve flow paths. Replace worn pump beads, O-rings, and soft hoses proactively.
This preventive maintenance regimen protects pressure integrity, extends pump life, and reduces unscheduled repairs.
Frequently Asked Questions
Why Does My Puck Spit or Channel During Extraction?
Your puck spits or channels because puck behavior shows uneven flow paths from channeling causes like incorrect grind, underdose, or weak tamping. You’ll see water exploit low-resistance areas, creating spits and narrow jets.
Fix this issue by increasing dose to ~18 g, firming tamp evenly, and making finer grind adjustments. Also, clean the shower screen and back‑flush to remove blockages that worsen channeling. Inspect for leaks or worn gaskets that reduce system resistance.
How Often Should I Descale With Hard Water?
You should descale frequency every 2 to 3 months with hard water. Hard water accelerates mineral scale that narrows passages and reduces pressure. Therefore, schedule routine descaling cycles using the manufacturer’s descaler. Run short bursts through the group head and steam wand, soak components as directed, then flush thoroughly.
Track performance and increase frequency if you notice flow reduction, loud pump behavior, or pressure gauge drops to maintain reliable extraction.
Can Worn Portafilter Gaskets Cause Low Pressure?
Yes, worn portafilter gaskets can cause low pressure. You’ll see portafilter wear and gasket leakage let water bypass the puck; this bleeds pressure and produces weak extraction. Inspect the gasket for cracks or flattening. Replace it if deformed and ensure the portafilter locks firmly.
After replacing, test with a blind basket and adjust dose/tamp to confirm pressure recovery. Regular gasket checks prevent recurring leakage and pressure loss.
Does Grind Humidity Affect Extraction Pressure?
Yes, grind moisture affects extraction pressure. If grind moisture rises, particles clump and swell, reducing flow channels and increasing puck resistance; you’ll see higher extraction pressure and potential channelling.
Low moisture makes the grounds looser, lowering resistance and pressure. To manage extraction impact, adjust grind size finer when beans are dry, coarser when humid, and monitor dose and tamp to maintain consistent puck density and flow.
When to Replace a Vibration Pump Versus Repair?
You should replace a vibration pump when pump life span signs show persistent weak flow, loud abnormal noise, or pressure stuck below 6–7 bars despite fixes.
Test by running water through the steam wand and inspecting for leaking or bleeding. If bead or O‑ring wear is confirmed, weigh rebuild versus replace: rebuild can save money for minor wear.
Replace the pump (~$130–$140) when multiple components or OPV interactions fail.
Conclusion
You’ve traced low-pressure pulls to either insufficient boiler pressure or restricted flow; use the PSI checklist to separate them quickly. Measure pump RPM and watch for cavitation signs: noise, vibration, and fluctuating output. Then adjust speed or replace the pump as needed.
Inspect and clear flow restrictions: valves, screens, and lines. Regularly log RPM, pressure, and maintenance actions to prevent recurrence. Stay methodical: diagnose, correct, verify, and document each step.