Espresso Pressure and Flow Basics
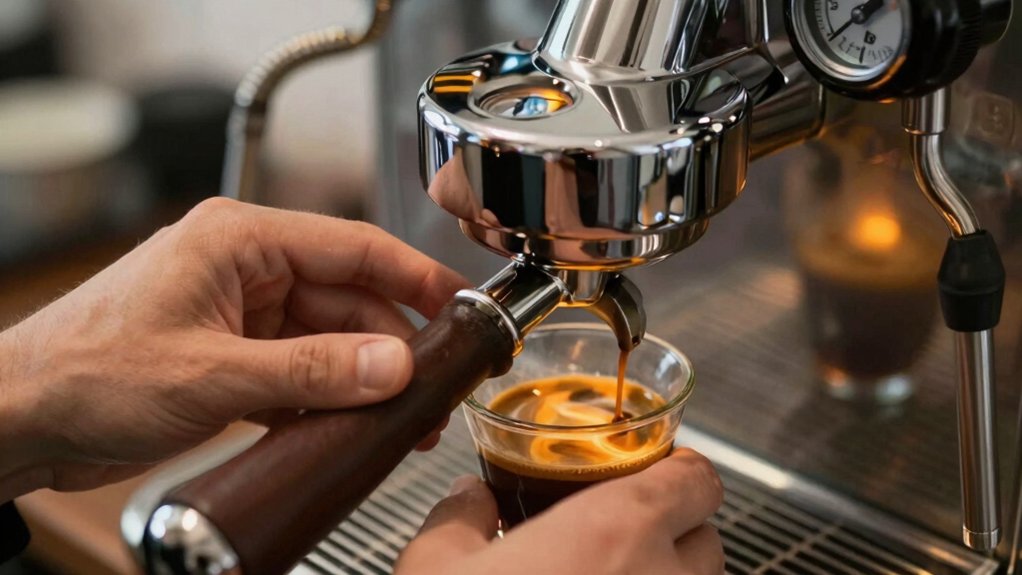
You control espresso by managing pressure and flow from puck wetting through a 25–30 second ramp to an 8–10 bar peak.
Start with a 2–4 bar pre-infusion to evenly saturate the puck; then ramp to ~9 bars.
Grind, dose, or tamp change shot time.
Use OPV or profiling to shape the ramp.
Check pump type and mounting; clear flow obstructions for consistency.
Keep going and you’ll find practical checks and fixes to refine shots.
Quick Overview
- Aim for 8–10 bars over 25–30 seconds for a balanced extraction; use pre-infusion at 2–4 bars to wet the puck.
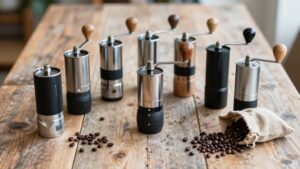
- Grind, dose, and tamp control flow rate: finer grind, higher dose, or firmer tamp slow extraction.
- Use pressure profiling or OPV tuning to shape the ramp while keeping the same peak pressure for consistent flavor.
- Verify pump type, set OPV/gauge at the grouphead, and test with an empty puck to confirm baseline flow.
- Reduce pump vibration by securing mounts, replacing worn isolators, and cleaning or isolating obstructed flow paths.
Extraction Pressure vs Time
How does pressure over time shape your shot? You control extraction pressure and time dynamics to hit 8–10 bars over 25–30 seconds for balanced extraction. Start with a 2–4 bar pre-infusion to wet the puck; then ramp to ~9 bars. Finer grind, higher dose, or stronger tamp lengthen time; coarser or higher flow shorten it.
Monitor pump type: vibratory ramps, rotary hits target instantly. Adjust grind or dose if shots run 35s (low pressure/slow flow). Use pressure profiling or OPV tuning to shape ramp without changing peak pressure. Below is a quick reference linking pressure category to timing and outcome.
| Category | Pressure | Typical Time |
|---|---|---|
| Low | ≤6 bars | >30s |
| Standard | 8–10 bars | 25–30s |
| High | ≥10–12 bars |
-bar Target Checklist
Want to hit 9 bars reliably every shot? You’ll use a concise bar target checklist to align pump, OPV, and puck resistance with your intended flow profile. Confirm components and settings before brewing.
- Verify pump type and capacity match desired bar target: rotary for immediate 9 bars; vibratory for ramped approach.
- Set OPV and gauge at locations that reflect grouphead pressure. Then test with an empty puck to validate baseline flow profile.
- Adjust needle valves, jets, and grind to produce target resistance so the puck creates the final pressure without overextraction.
Follow this checklist each session. It keeps pressure accuracy, prevents surprises from flow changes, and ensures consistent extraction across shots.
Pump Vibration Troubleshooting
When a pump vibrates, start by checking its mounting and any loose fasteners, so the unit sits solidly and can’t transmit mechanical noise. If mounts and bolts are correct, inspect the flow path for obstructions. Consider isolation footing or damping pads to break resonance at the pump’s natural frequency.
Finally, identify the pump’s resonance frequency and tune mounting or flow restrictions to stop sympathetic vibration without compromising pressure or flow.
Pump Mounting Checks
Curious whether that thumping under your bench is a failing pump or just bad mounting? Start by visually inspecting pump mounting: look for worn rubber feet, compressed isolators, or missing dampers. Securely seated mounts reduce transmitted energy and prevent resonance with cabinet panels.
Check alignment so hoses and brackets don’t preload the pump; misalignment transfers torque into the frame. Test vibration isolation by briefly running the pump with machine panels off. Note whether vibration drops when you add or remove isolators.
Replace any hardened or oil-soaked mounts; use neoprene or dedicated anti-vibration mounts rated for the pump type. If vibration persists after proper pump mounting and isolation, proceed to electrical and internal pump checks to determine mechanical failure.
Loose Fastener Inspection
How tightly are the mounting bolts, hose clamps, and bracket screws holding your pump in place? Check each fastener visually and by hand; a single loose fastener can let the pump shift under load.
Tighten mounting bolts to manufacturer torque, retorque hose clamps to prevent movement, and secure bracket screws with threadlocker where specified. Listen for changes in vibration frequency while tightening; reduced harmonics indicate improved stability.
Inspect rubber grommets and washers for compression or wear; replace degraded isolators to maintain consistent clamping. Record torque values and any replacements for future troubleshooting.
Isolation Footing Solutions
After you’ve verified fasteners and isolators, focus on the pump’s footing: vibrations still coming through the frame usually mean the mounting interface needs engineered isolation rather than just tighter bolts. You should evaluate the contact surfaces, ensuring they’re flat, clean, and free of resonance-amplifying paths.
Select a proven isolation footing system sized for the pump weight and expected vibration spectrum; elastomer mounts, neoprene pads, or spring isolators each suit different amplitudes. Mount with compliant washers and torque to manufacturer specs so isolation isn’t compromised. Verify alignment to avoid preload that defeats vibration isolation.
After installation, run the pump at operational pressure and inspect for transmitted vibration at the grouphead and chassis. If vibration persists, reassess mount stiffness and damping rather than tightening hardware.
Resonance Frequency Identification
When vibrations keep transmitting through your machine despite proper mounting, you’ll need to identify the pump frame resonance frequency so you can tune isolation and damping correctly. Use a simple impact test: Tap the frame near the pump with a small mallet while holding an accelerometer or smartphone with a vibration app against the frame. Record frequency peaks. Then, repeat on the pump housing.
Compare spectra to find shared peaks; those are resonance frequencies where energy couples into the frame. Once identified, target resonance dampening by adding tuned mass damping, viscoelastic pads, or tuned isolators that shift natural frequency away from pump excitation. Adjust isolator stiffness to lower transmissibility at excitation frequency.
Verify by repeating spectral test; reduced shared peaks confirm effective vibration isolation.
Flow Path Obstructions
Identifying frame and pump resonances tells you where vibration energy couples into the machine. However, trapped fluids and partial blockages in the flow path can create their own vibration sources that mimic those resonances. You’ll inspect lines, valves, and jets for constrictions that cause pressure spikes and erratic flow. Small debris, scale, or collapsed tubing produces rapid pressure fluctuations; those obstruction effects translate into audible whine, pulsation at the grouphead, and inconsistent extraction.
Isolate sections to localize the disturbance: disconnect inlet and outlet, run the pump, and observe change in vibration. Clean or replace affected fittings, purge trapped pockets, and verify flow path continuity. After remediation, confirm stable flow and steady pressure ramp to ensure vibrations were eliminated.
Frequently Asked Questions
Why Does Boiler Temperature Affect Pressure Readings?
Boiler temperature affects pressure readings because you change boiler dynamics: heating water raises vapor pressure and expands fluid, so gauges read higher. You’ll see pressure shifts as heat changes the pressure head between pump and group.
For correct pressure interpretation, you must account for thermal expansion, changing flow resistance, and dynamic pressure losses. Otherwise, pump or gauge readings can mislead you about actual pressure at the puck.
Can OPV Placement Change Grouphead Pressure Accuracy?
Yes, OPV placement can change grouphead pressure accuracy. You’ll see pump-side OPV readings that overstate grouphead pressure because flow dynamics and frictional losses drop pressure between pump and brew chamber.
Placing the OPV nearer the grouphead yields readings closer to actual brew pressure; a pump-side OPV masks losses across jets, valves, and the puck. So, you’ll position the OPV to reflect true grouphead conditions for accurate measurements.
How Does Grind Size Alter Pressure Ramp Dynamics?
Finer grind speeds the pressure ramp by increasing resistance, so you’ll see a steeper pressure ramp and slower flow dynamics, tightening extraction timing. Coarser grind lowers resistance, producing a gentler pressure ramp, faster flow dynamics, and shorter extraction timing.
You’ll adjust dose and tamp to balance this: too fine risks over-extraction from sustained high pressure; too coarse yields under-extraction from weak pressure and rapid flow.
Why Measure Pressure at Pump Vs Grouphead?
You measure pressure at the pump to see raw pump output and at the grouphead to see actual brewing conditions. Each location reveals different faults.
Pump pressure measurement helps with system diagnostics on pump health, OPV setting, and supply issues. Grouphead pressure measurement shows real extraction pressure after jets, valves, and puck restrictions.
You’ll use both to pinpoint leaks, wrong OPV placement, flow jets, or puck-related pressure drops.
Do Multi-Group Machines Need Stronger Pumps?
Yes, you’ll need stronger pumps for multi group machines. Proper pump sizing assures each group maintains stable 9-bar extraction under simultaneous demand. You’ll choose higher-capacity or multiple pumps, often rotary or gear-driven, so flow and pressure don’t collapse when several groups run.
Undersized pumps cause slow ramp-up, uneven extraction, and reliance on OPV workarounds. Specify pump sizing for peak concurrent flow to preserve consistency across groups.
Conclusion
You’ve learned how pressure and flow shape every shot, so keep a simple checklist: confirm target pressure over time, remove pump vibration, secure mounts and fasteners, and clear flow-path obstructions.
If you still see instability, isolate the machine and identify resonance frequencies before making changes. Regularly verify and log pressure and flow readings so problems show up early.
Follow these steps consistently and you’ll get repeatable, controllable extractions every time.