How to Use a Moka Pot for Strong, Café-Style Coffee at Home
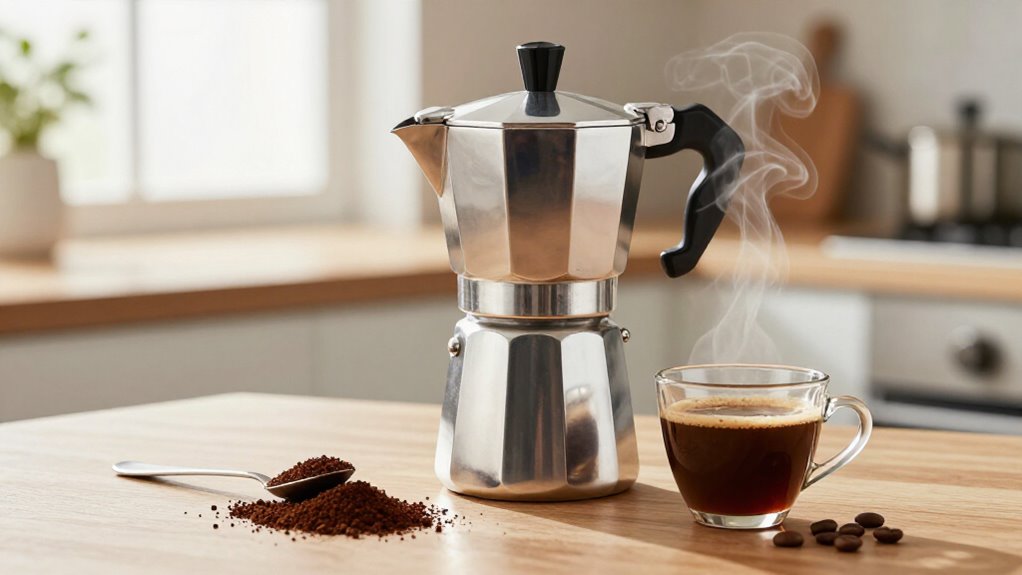
You’ll make strong coffee with medium-fine grounds, filling the basket nearly full without tamping.
Fill the lower chamber with near-boiling water just below the safety valve.
Inspect the gasket and filter, then place the pot on a suitable burner.
Use medium-low heat with the lid open; remove it when flow slows and gurgling begins.
Pour promptly, cool before disassembly, and hand-wash and air-dry every part thoroughly.
Taste and adjust grind or dose for balance; next practical tips follow.
Set Medium-Fine Coffee Grind
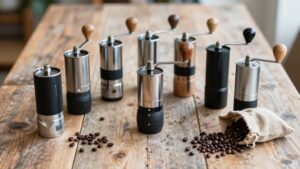
Set your grinder to a medium-fine setting for every Moka pot size, slightly coarser than espresso but finer than drip coffee, similar to table salt or fine sand.
Use consistent particles to support even percolation and strong, café-style intensity. As a practical starting point, try about three clicks from zero on a Rhino Compact hand grinder; this roughly corresponds to setting 6 on a Baratza Encore or 25 on a Niche Zero. Then adjust by taste and flow behavior: a coarse grind moves water too quickly, producing weak, under-extracted coffee, while an overly fine grind slows extraction, increases bitterness, and may clog the filter. Fill the basket nearly to the top, level the grounds with a gentle tap, and don’t tamp or compress them.
Water Below Safety Valve
Once you’ve leveled the medium-fine grounds, fill the lower chamber with hot water to just below the safety valve. Use the visible valve base as your fill-line reference; don’t cover it. This headspace lets pressure build and keeps the relief mechanism functional.
- Use near-boiling kettle water, cooled about 30 seconds, to shorten heating.
- Stop at the valve’s base, even if the chamber’s capacity seems larger.
- Don’t overfill: water can obstruct pressure release, cause scalding, damage the gasket, or force wet grounds upward.
- Don’t underfill excessively: insufficient water can promote dry-boiling and produce harsh, overly concentrated coffee.
Screw the upper section on firmly after inserting the basket, but don’t tamp the grounds. The correct water volume supports steady, pressure-driven percolation and balanced strength every time.
Step 1: Clear Stovetop Around Burner
Before you light the burner, clear the stovetop and keep the surrounding counter dry to prevent spills while you handle the hot moka pot. Place the pot squarely on the smallest suitable burner, positioning its base centrally for even heating. Keep a cloth or tea towel nearby; it can help you grip the extremely hot bottom chamber and protect your hand while you tighten the pot.
Set the burner to medium-low heat, just above minimum, and leave the lid open so you’ll watch the first drips. Uneven placement or excessive heat can cause spitting, sputtering, and bitter, over-extracted coffee. Once soft bubbling and dripping begin in the upper chamber, turn off the heat immediately. Move the pot off the burner and serve promptly.
Step 2: Inspect Gasket and Filter
Inspect the rubber gasket for cracks, brittleness, flattening, or other wear, and replace it if damaged to prevent steam leaks and weak, watery coffee. Before brewing, remove the gasket and examine its seating groove. It should lie evenly against the metal, without twisting, folding, or debris that could interrupt the seal between the chambers.
Next, inspect the filter and basket for blocked perforations or retained coffee residue. Rinse and brush these components thoroughly, clearing every opening so water can pass uniformly during extraction. Confirm that the filter sits flat and centered in the basket chamber. Dry the gasket and filter completely before reassembly; trapped moisture can accelerate rubber degradation and compromise performance. Replace distorted filter, and verify all sealing surfaces are clean and undamaged.
Step 3: Fill Basket Without Tamping
With the gasket and filter clean and properly seated, fill the basket almost to the top with medium-fine coffee grounds. Use grounds finer than drip but slightly coarser than espresso. Tap the basket gently to level the bed; don’t tamp, press, or otherwise compress it.
An unpressed, even coffee bed lets brewing water pass through smoothly and supports balanced extraction. If you grind too coarsely, the coffee may taste weak; if you grind too finely, flow can slow, leading to bitterness or clogging.
Match the dose to your brewer size. A four-cup model typically needs 18–20 g in the basket, while a six-cup model takes 27–30 g and an eight-cup model takes 36–40 g. Tap only until the surface sits level and remains loose.
Step 4: Heat Until Coffee Flows
Place the assembled moka pot on a burner set to medium-low, leaving the lid open so you can monitor the coffee as it enters the upper chamber. Use boiling water, about 100°C, in the lower chamber, filling it just below the pressure-release valve. This hot start shortens heating time and promotes consistent extraction.
Watch for the first coffee droplets or bubbles entering the upper chamber. When flow begins, maintain gentle heat rather than increasing the burner, which can scorch the coffee and force extraction. As the stream slows, remove the pot from the burner immediately. Don’t let the brewer continue heating after flow stops, and don’t reheat the finished coffee; extra heat can produce dull, bitter flavors.
Serve it immediately while its aromatics remain.
Step 5: Listen for Gentle Gurgling
As coffee begins entering the upper chamber, listen for quiet bubbling or a gentle gurgle with the lid open. Keep the pot over medium-low heat and monitor the sound as flow develops. When you hear steady, gentle gurgling and see coffee accumulating above, remove the pot from the burner immediately.
This timing limits continued thermal exposure, which can scorch the coffee and intensify bitterness.
The sound should resemble quiet bubbles, not a forceful boil. If bubbling becomes vigorous, sputtery, or erratic, reduce the heat because excessive energy drives flow too rapidly and may produce harsh extraction. Don’t continue heating or restart the burner once this phase begins; further running usually dulls aromatics and adds bitterness. Use the gurgle as your precise endpoint for brewing.
Step 6: Cool Pot Before Disassembly
After brewing stops, pour the coffee immediately, then remove the moka pot from the heat and let it cool until comfortably warm.
Then wait until steam and bubbling have completely stopped; this confirms pressure has relieved before you loosen the threaded sections. Use a dry cloth or tea towel to grip the base, because residual heat can burn your hand.
Disassemble only after pressure has fully relieved, and unscrew the upper chamber slowly to prevent splashes and protect the gasket seal. Don’t force a warm joint; allow the metal to cool further if the threads resist.
Once separated, rinse each component with hot water to remove oils and loose grounds. Let the brewer cool completely before washing or storing it. This also protects seals.
Taste for Balanced Flavor
For balanced flavor, use a medium-fine grind, slightly coarser than espresso, with a medium or medium-dark roast to preserve sweetness without harsh bitterness. Fill the lower chamber with boiling kettle water to just below the safety valve. This starting temperature supports even extraction and a cleaner cup.
Match your dose to the pot: use 18–20 g for a 4-cup model, yielding approximately 130–140 g; 27–30 g for a 6-cup, yielding 195–210 g; or 36–40 g for an 8-cup, yielding 260–280 g. With these amounts, you’ll target roughly 90–100 g of coffee per liter of water. Taste immediately after brewing, and adjust the dose slightly: increase it for greater intensity or reduce it to emphasize sweetness. Pour promptly, because reheating dulls aromatics and changes the cup’s balance.
Bitter Coffee: Reduce Heat
If your moka pot coffee tastes bitter, reduce the heat before changing the dose or grind. Use boiling water, filling the lower chamber only just below the pressure valve. Set the burner to medium-low; on gas, use the smallest ring just above minimum. Keep the lid open so you can watch the stream. When coffee turns rich and dripping begins, remove the pot immediately.
| Signal | Adjustment | Result |
|---|---|---|
| Fast, harsh flow | Lower heat | Gentler extraction |
| Gurgling bubbles | Remove promptly | Less bitterness |
Choose a medium-fine grind, not espresso-fine: excessive fineness slows flow and extracts more bitter compounds.
Don’t reheat the finished brew; residual heat continues extraction, producing a duller, more bitter cup. If bitterness persists, then evaluate dose or grind after you’ve stabilized heat and timing precisely.
Hand-Wash, Then Air-Dry
Once the moka pot has cooled, disassemble it and hand-wash each component with very hot water and a gentle brush or cloth; never place it in the dishwasher.
Rinse thoroughly, especially the gasket, funnel, and filter basket, removing coffee oils and grounds. Detergent residue can alter the flavor of subsequent brews. Dry every component completely, including the rubber gasket and threads. This limits oxidation, rust, and trapped odors.
Air-dry the parts separately whenever possible, then store the pot with its upper chamber loosely open or slightly separated, so moisture can’t accumulate. For occasional deep cleaning, run a solution of two parts water to one part distilled vinegar through the brewer. Rinse it thoroughly afterward with very hot water, and dry every part fully before reassembly.
Conclusion
With a moka pot, you’ll get strong, café-style coffee by controlling grind size, water volume, heat, and contact time. Use medium-fine grounds, fill water below the safety valve, and avoid tamping to preserve pressure flow.
Keep the burner area clear, inspect the gasket, and cool the pot before opening. Taste each brew, then adjust heat or grind if it’s bitter. Hand-wash every component and let it air-dry completely before storage for consistent results over time.