Moka Pot Coffee Ratio
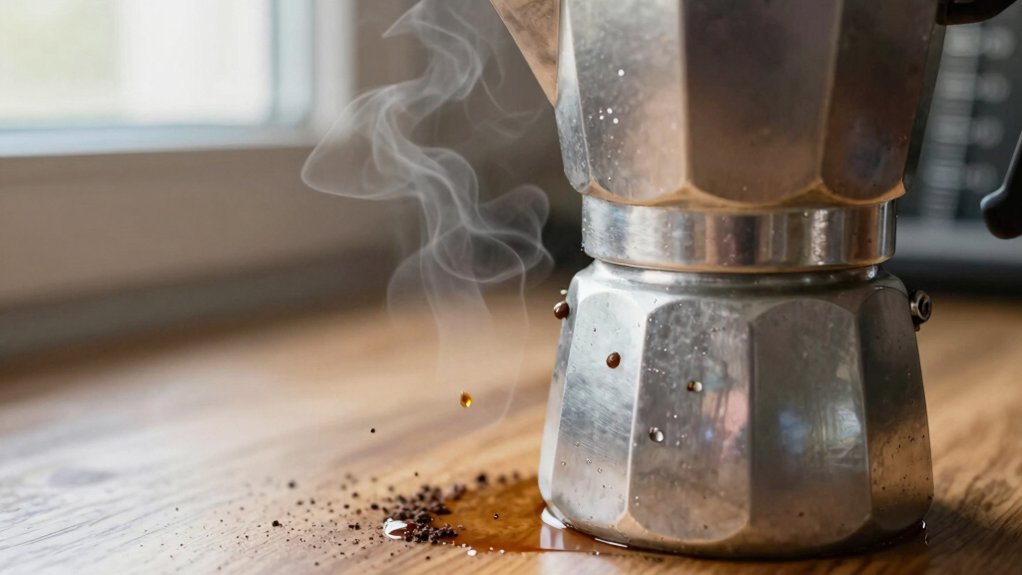
For a predictable, espresso-like moka pot brew, dose to the pot: 1‑cup 6–8 g, 3‑cup 14–18 g, 6‑cup 28–30 g. Use a medium‑fine grind; slightly coarser for larger baskets and darker roasts. Aim for a 1:7–8 ratio for strong coffee or about 1:10 for milder cups.
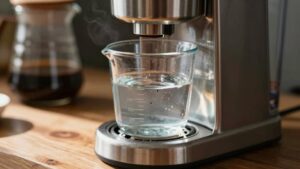
Fill water just below the safety valve, level the grounds without tamping, and adjust grind by small steps for consistent extraction. More tips follow if you want to optimize further.
Quick Overview
- Use a dose matched to pot size: 1-cup 6–8 g, 3-cup 14–18 g, 6-cup 28–30 g.
- Aim for a coffee:water ratio near 1:7–8 for espresso-like strength, or 1:10 for milder brew.
- Grind medium-fine, slightly coarser for larger baskets and coarser for dark roasts.
- Fill water to just below the safety valve and level the coffee in the basket without tamping.
- Measure by weight and adjust grind or dose by ±1–2 g to fine-tune extraction and pressure.
Brew Ratios by Cup Size
How strong do you want your moka pot brew? You’ll pick ratios by pot size: 1:7–8 gives espresso-like strength; 1:10 makes it milder. Match dose to basket: 6–8g (1-cup), 14–18g (3-cup), 28–30g (6-cup). Keep fill levels consistent: water just below the safety valve, coffee levelled, no tamping.
Grind size should be medium-fine; finer for lighter roasts and coarser for darks. Adjust ±1–2g for dense beans and log results.
| Pot size | Typical dose (g) |
|---|---|
| 1-cup | 6–8 |
| 3-cup | 14–18 |
| 6-cup | 28–30 |
Grind Size & Fill Levels
Want the best extraction from your moka pot? Use a medium-fine grind size, slightly coarser than espresso, to let pressure push flavorful oils without clogging the filter. Match grind to dose: finer for small baskets, slightly coarser for larger ones. Set fill levels precisely: water should sit just below the safety valve. The basket should be level but not packed. Measure by weight for repeatability.
- Anticipation: A consistent grind promises a reliable cup.
- Control: Correct fill levels prevent bitterness and spills.
- Confidence: Watching pressure build feels rewarding.
- Care: A regular cleaning routine preserves flow and flavor.
You’ll brew cleaner, safer coffee when you combine proper grind size, precise fill levels, and routine maintenance.
Safety Valve Cleaning Routine
You should inspect the safety valve regularly for coffee oils or mineral buildup that can impede pressure release. When buildup is present, disassemble the valve and use a soft brush or toothpick and warm water to gently remove debris and residue without damaging seals.
Reassemble carefully. Then test the valve by filling the boiler below the valve level and heating briefly to confirm proper operation.
Inspect Safety Valve Regularly
Curious about keeping your Moka pot safe and reliable? You should inspect the safety valve regularly as part of a practical inspection routine. Check for visible deposits, corrosion, or a stuck pin before each brew. Include valve function tests on your maintenance checklist monthly.
A responsive valve will move freely; if it resists or shows mineral buildup, clean gently with a soft brush and mild descaler. Don’t force the mechanism. Document findings and any service actions so you spot trends that signal wear.
If cleaning doesn’t restore proper action or you notice leaks, arrange valve replacement promptly. Do not continue brewing. Regular inspection reduces risk, preserves pressure control, and supports consistent extraction.
Disassemble For Cleaning
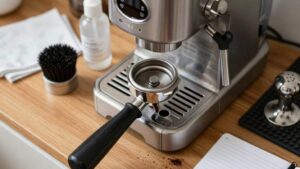
How should you approach disassembling a Moka pot to clean its safety valve without risking damage or injury? You’ll work methodically: cool the pot, empty grounds, and unscrew components using a cloth for grip.
Remove the top, filter basket, and gasket to expose the valve assembly. Apply short bursts of warm water and a soft brush to dislodge deposits; avoid forced tools that bend parts.
Reassemble in reverse order, checking the gasket sits evenly and the valve moves freely. Evidence shows routine maintenance preserves pressure control and brew consistency, so treat this as part of your regular cleaning routines.
Disassembly perseverance: doing it carefully and regularly prevents clogging and reduces risk. This keeps extraction predictable and safe.
Use Gentle Cleaning Tools
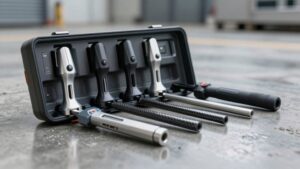
Why choose gentle tools when cleaning the safety valve? You avoid damaging the valve’s sealing surfaces and internal spring, which preserves pressure regulation and prevents leaks. Use soft brushes, wooden toothpicks, or a silicone-tipped probe for gentle cleaning; metal picks or abrasive pads can deform parts.
Rinse components in warm water and apply mild detergent only when necessary, then dry thoroughly. Inspect the valve for corrosion or buildup during tool maintenance, and replace the gasket or valve if you see wear that gentle cleaning won’t fix. Routine, careful attention reduces failure risk and maintains consistent extraction and safety.
Gentle cleaning supports long-term performance without compromising the valve’s function or your brew quality.
Remove Debris And Residue
After using gentle tools to loosen grime, remove any remaining debris and residue from the safety valve to keep pressure regulation reliable and prevent blockages. Use a small, soft brush and a toothpick or wooden skewer to dislodge trapped grounds; avoid metal picks that can deform the valve.
Rinse under warm water while actuating the valve to flush loosened particles. For persistent mineral buildup, soak the valve assembly briefly in a 1:1 water and white vinegar solution. Then rinse thoroughly to eliminate acid traces.
Inspect the valve seat and spring for pitting or residue. Repeat cleaning until water flows freely through the relief channel. Documenting debris removal frequency helps you detect accelerating mineral buildup and decide when replacement is necessary.
Reassemble And Test
Ready to reassemble? Refit the gasket and filter plate, align the funnel, and screw the top and base together finger-tight. Use a clean cloth to remove fingerprints that can hide residue.
Before adding coffee, perform a dry reassembly testing: fill the water chamber to just below the safety valve, seat the basket, and secure the unit. Heat gently and watch for steam or leaks at the joint and around the safety valve.
Conduct a pressure seal inspection by checking that no hissing occurs other than normal brew sound; any persistent leak indicates a misaligned gasket or damaged seal. If the safety valve emits irregular steam, stop, cool, disassemble, clean or replace the valve, then repeat testing.
Frequently Asked Questions
Can I Use Pre-Ground Supermarket Coffee in a Moka Pot?
Yes, you can use pre ground supermarket coffee in a moka pot, but expect different results. Pre ground availability makes it convenient; however, freshness concerns matter. Supermarket grounds are often older and oxidized, which reduces aroma and crema.
Use a medium-fine grind if possible; avoid overly fine espresso grind that clogs. Brew promptly. For best flavor, buy smaller bags, store airtight, and switch to freshly ground beans when you can.
How Do I Store Ground Coffee Between Brews?
Store ground coffee airtight, in a cool, dark place, between brews to preserve flavor. Use opaque, sealable containers and avoid the fridge or freezer for daily use because moisture alters oils.
Keep quantities small so you’re using fresher grounds within one to two weeks. For longer storage, freeze unopened bags and thaw before opening.
Label containers with roast date and grind size so you’ll monitor freshness reliably.
Can I Brew Flavored or Decaf Beans in a Moka Pot?
Yes, you can brew flavored beans and decaf beans in a moka pot. You’ll get clear flavor notes if beans are freshly roasted and ground to a medium-fine consistency. Flavored beans may be less intense than drip brewing but still tasty.
Use the same dosing and grind adjustments as regular beans. Avoid over-extraction by monitoring heat. Clean the pot well afterward to prevent flavor carryover between batches.
Is Stovetop Material (Gas Vs Electric) Important?
Yes, stovetop type matters. You’ll get more consistent heat on gas, which helps extraction and prevents channeling if you use a universal grind and proper tamping. Electric coils heat less evenly; you’ll need gentler technique and closer monitoring to avoid overheating.
Brewing ethics matter: choose energy-efficient heat, match grind and dose, and clean regularly to reduce waste. These steps improve taste and minimize environmental impact.
How Long Does Brewed Moka Pot Coffee Stay Fresh?
Brewed moka pot coffee stays fresh for about 20–30 minutes at optimal flavor. The freshness window extends up to 2 hours before notable degradation occurs.
For longer enjoyment, cool it quickly and transfer to an airtight thermos; that will preserve taste and aroma for several hours.
Storage tips: Avoid leaving coffee in the hot pot on heat. Refrigerate only if you’ll drink within 24 hours, and reheat gently to reduce bitterness.
Conclusion
You’ve learned the right brew ratios for each moka pot size. You also know how grind and water fill levels affect extraction. Additionally, you understand the simple routines that keep the safety valve reliable.
Inspect the valve regularly; disassemble periodically; and use only soft brushes or cloths to remove deposits without damaging seals. Reassemble carefully and run a test brew to confirm function. These evidence-based steps preserve flavor consistency and prevent safety or performance issues.