
How to Use a Blade Coffee Grinder Without Overheating Beans
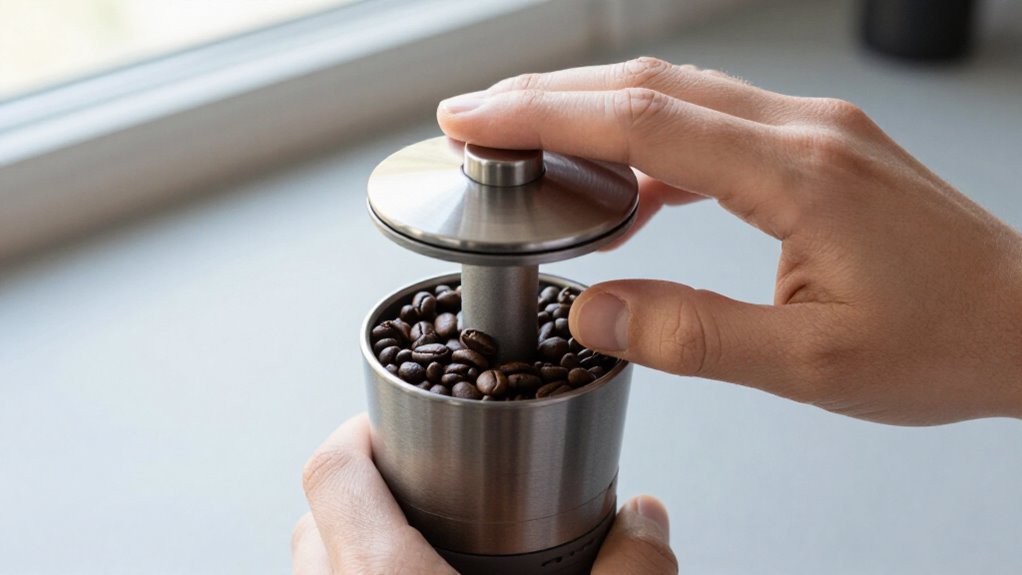
To grind without overheating beans, fill the chamber halfway and keep vents unobstructed on a stable surface. Use 1–2-second pulses, pausing 1–2 seconds between them, and stop once grounds look uniform; don’t exceed about 30–45 seconds total.
Inspect beans first and remove debris. If the motor bogs, stop and unplug the grinder before clearing jams or wiping it.
Let the motor cool, then brush the blade hub and check grounds for scorching. Detailed safety steps follow.
Ideal Pulse-Grinding Intervals
Start with 1-3-second pulses, followed by 1-2-second pauses to limit frictional heat from the high-speed blade. For a typical 30-80-g dose, keep cumulative grinding under roughly 30-45 seconds, including rests between pulses.
Run the blade for one to three seconds, then pause for one to two seconds. Inspect the grounds after each cycle and stop as soon as particles look sufficiently uniform for your brew. Don’t continue once consistency’s adequate; extra runtime increases heat and powdery fines.
For thicker or more resistant beans, lengthen the pause slightly instead of extending the pulse. If the motor strains or dust increases, switch to one-second pulses and reassess. Count pulses or use a timer to repeat the same interval reliably across batches and doses.
Check Grinder Ventilation
Adequate ventilation keeps the motor cooler and limits heat transfer to the beans, which helps preserve aroma and prevents premature thermal shutdown.
Inspect the side, base, and bottom grilles before each session. You’ll need clear space around every opening; maintain the manufacturer’s specified clearance, or at least 2–4 inches when no value is provided. Keep the grinder on a level, stable, nonflammable surface, and never cover vents during operation.
- Unplug the unit before cleaning; brush dust from grilles and use brief, upright canned-air bursts.
- Check vents weekly with light use and daily with heavy use.
- Don’t insert metal tools or spray liquid into openings.
- Stop using the grinder if its thermal cutoff repeatedly activates; contact authorized service.
Airflow protects motor performance and longevity.
Step 1: Inspect Beans for Debris
Before you load the chamber, spread the beans under good light and remove stones, twigs, husks, packaging fragments, and other debris. Inspect each bean or group for foreign material that could strike the blade. A stone, twig, husk, or packaging fragment can make the motor work harder, prolong grinding, and increase frictional heat.
Remove severely broken or burnt-looking beans, which may behave irregularly and require repeated chopping for a consistent particle size. If a bag contains many fines or fragments, sort out the worst pieces rather than forcing the blade to process them. When you suspect contamination, discard a handful after inspection; don’t risk transferring material into your coffee.
This check helps prevent uneven grinding, so you won’t compensate with unnecessary processing that raises bean temperature. Keep the inspection dry and visual, and don’t rinse the beans because moisture can affect grinding and flavor.
Step 2: Fill Chamber Halfway
After removing debris, load the chamber to roughly half its capacity so the beans can circulate freely around the blade. This spacing helps each bean reach the cutting edge, reducing repeated chopping and the total time the motor must run. Use the smallest dose that fits comfortably at this level, typically about 30–60 grams for a small-to-medium grinder.
Check your model’s capacity, because an overfilled chamber restricts movement, produces less consistent particles, and can prolong operation. An underfilled chamber may also reduce cutting efficiency if beans fail to contact the blade consistently.
Choose fresh, dry, unflavored beans. Oily or flavored beans can cling to the chamber and blade, causing longer runs. Measure the amount you’ll brew immediately and avoid unnecessary heat.
Step 3: Press the Pulse Button
With the lid secured, press the Pulse button for 1–2 seconds, then release it for about 1 second to let heat dissipate. Repeat this cycle rather than running the motor continuously; brief pauses limit frictional heat and protect volatile aromatics.
Continue pulsing until the grounds look evenly chopped, recognizing that a blade grinder will produce both fine powder and larger particles. Check the texture between cycles, and stop immediately when you reach the target: coarse for French press or cold brew, or medium for drip. Don’t over-process the batch, because additional pulses create more fines and heat.
Grind the amount you need, 30–60 g for one to four cups. Keep the runtime within your manufacturer’s duty-cycle limits, and allow a cooling interval before the next batch.
Step 4: Shake Chamber During Grinding
To redistribute beans and limit localized heat, pulse the grinder in brief 5–10-second bursts while gently shaking or tapping the closed chamber every few seconds. Keep each burst short enough to prevent continuous high-speed cutting from accumulating heat. The motion redistributes beans that may lodge near the blade, reducing localized grinding and unnecessary recutting.
Use small batches, such as 30–60 grams for one to four cups, because a crowded chamber encourages repeated cutting and raises temperature. Pause briefly between bursts so the motor and beans can shed heat. Watch the grind through the pauses and stop when it reaches the texture your brew method requires.
Keep your shaking gentle, and don’t open the chamber until the motor has fully stopped; then transfer the grounds.
Step 5: Keep Lid Secure During Operation
Keep the lid firmly secured and fully closed while the blade spins. A loose lid can allow beans or grounds to escape, interrupt grinding, and force you to run the motor longer, increasing frictional heat. Hold the lid in place only as designed; don’t press excessively or obstruct safety controls. Fill the chamber within the manufacturer’s recommended capacity so the blades and motor don’t work harder than necessary.
Use short pulses, then let the grinder rest with the lid latched shut. This pause helps dissipate heat while preventing spills.
Before each session, inspect the lid, latch, and seating surfaces. Replace worn or damaged parts promptly. A fit can disrupt airflow, cause inconsistent operation, and prolong grinding. Confirm the lid remains secure throughout every pulse.
Step 6: Unplug Before Wiping
Unplug the grinder before wiping it so an accidental switch press can’t start the blade while you’re handling the unit. Let the motor housing cool for about one minute after grinding, then disconnect the power before you handle the grinder. This sequence prevents accidental activation and protects you while you clean around the blade, chamber, base, and controls.
Use a dry brush to remove loose grounds from areas, or use a damp cloth on the exterior and spills. Keep moisture away from motor housing, vents, switch, and connections; never immerse grinder or wipe it while powered. Remove residue promptly because stale particles can contaminate batches. Don’t reconnect the cord until wiped surfaces are dry.
Cleaning limits buildup that can make the motor work longer.
Inspect Grounds for Heat
Once grinding stops, spread the grounds and check for unusual clumping, concentrated fine dust, or a scorched smell. These signs can indicate that prolonged blade operation raised the grounds’ temperature. Because blade grinders produce both powder and chunks, inspect whether fine dust has collected in patches; these particles heat and may intensify bitterness.
If the grounds appear unusually consistent in color or texture yet the brewed coffee tastes bitter, excessive cutting time may be the cause rather than freshness alone. For your next batch, use shorter pulses with pauses and inspect the output. When you’re repeatedly detecting a burned odor or heavy agglomeration, reduce the dose to roughly 30–60 grams, depending on your grinder capacity. Transfer grounds promptly before brewing, avoiding prolonged chamber contact.
Clear Jammed Blade Safely
If the blade stalls, disconnect the grinder from power immediately and empty the chamber; don’t reach inside while it’s connected. Remove stuck beans or grounds using only a wooden skewer, never your fingers or metal tools. Wipe the chamber to eliminate compacted chunks and fine powder that could block rotation again.
| Check | Response |
|---|---|
| Power | Unplug first. |
| Debris | Use skewer; avoid metal. |
| Cooling | Wait several minutes. |
| Test | Pulse a tiny dose. |
Let the motor cool for several minutes. Check that the blade isn’t obstructed or misaligned and that it turns freely; don’t force it. Reconnect only after confirming movement, then grind a small 1–2 tablespoon (15–30 g) test dose. Use 1–2-second pulses, stopping immediately if the motor bogs down. Repeated attempts can overheat beans and motor.
Brush the Blade Hub
After clearing a jam, turn the grinder off and unplug it before brushing the blade hub and surrounding chamber with a small brush. Remove trapped grounds and oily residue, which can coat the blade, increase friction, and raise heat during grinding.
Brush between batches, particularly if the motor’s sound or speed changes; buildup can retain heat and promote uneven, over-chopped particles.
If the chamber is visibly coated, perform a deeper dry cleaning of the hub and chute rather than grinding through residue. Once you’ve brushed the hub, briefly run the grinder empty for one or two seconds to eject remaining dust. Then unplug it again before adding your measured dose. Combine this cleaning routine with short grinding bursts and pauses to limit excess heat.
Conclusion
To keep beans from overheating, you’ll need to pulse-grind in brief intervals, maintain ventilation, and fill the chamber only halfway. Before grinding, inspect beans for debris and confirm the blade moves freely. After each batch, inspect grounds for excess heat.
If the blade jams, unplug the grinder before clearing it, then brush the blade hub clean. This routine limits friction, protects flavor, and extends your grinder’s service life without sacrificing grind consistency or overall control.