Coffee Maker Cleaning and Descaling Schedule: A Practical Chart
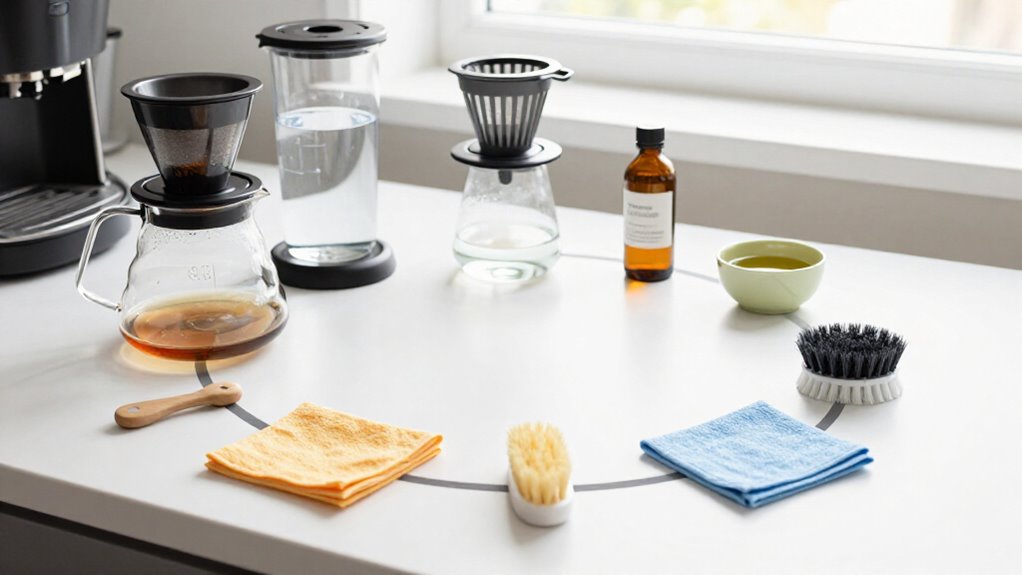
Empty grounds, rinse parts, wipe spills, and run a water-only flush after every use. Wipe the exterior and hot plate weekly, and dry everything fully.
Descale monthly in hard water or every three months in soft water; act sooner if brewing slows, sputters, tastes sour, or leaves flakes.
Capsule brewers need descaling every three months; drip, espresso, and super-automatic models need it every one to three months. The chart adds dosage and warranty guidance below.
Daily, Weekly, Monthly Tasks
Daily upkeep prevents coffee oils and residue from affecting flavor: after each use, empty the grounds or pod, rinse the carafe and brew basket, and wipe away spills. Run a quick water-only flush to clear lingering oils that could make your next cup stale or bitter.
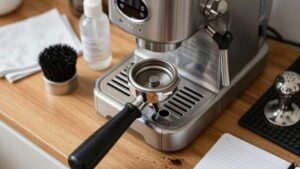
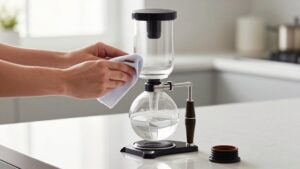
Weekly, wipe the hot plate and exterior with a damp microfiber cloth. Remove washable parts, rinse them thoroughly, and let everything dry completely before reassembly; trapped moisture encourages residue and odors.
Monthly, inspect performance and descale with a 1:1 vinegar-water solution. Hard-water users generally need treatment about every 30 days, while soft-water users may wait roughly three months. Descale sooner if brewing slows, sputters, tastes weak or sour, or leaves white flakes. Afterward, run two or three water-only cycles.
Brewer-Specific Frequency Chart
Descaling frequency depends on the brewer’s design, water hardness, and workload, so a single schedule won’t fit every machine. Check your manual first; use this chart as a baseline. Act sooner when an indicator appears, brewing slows, or gurgling starts.
| Brewer | Starting interval |
|---|---|
| Keurig or Nespresso capsule | Every 3 months; 6 to 8 weeks with heavy use |
| Automatic drip | Every 1 to 3 months; often monthly |
| Home espresso | Every 1 to 3 months or stated volume |
| Super-automatic | Every 2 to 3 months; follow product limits |
With filtered or distilled water and light use, you may extend intervals, but descale at least twice yearly. Before storage beyond one month, descale pod machines. Use the approved solution; unsuitable products can damage espresso boilers, sensors, seals, or grinders. Record cycles and follow model-specific instructions closely.
Hard-Water Mineral Buildup
When your brewer uses hard water, dissolved calcium and magnesium can form limescale as the water heats, coating heating elements and internal passages. This mineral film reduces heat transfer, so your brewer may take longer to finish and fail to reach a stable brewing temperature. Restricted lines can also produce sputtering, gurgling, or uneven water delivery, leaving you with sour, under-extracted coffee.
Look for white flakes or crusty residue around the reservoir, outlets, or other surfaces exposed to repeated heating. Treat these signs, altered flavor, slower cycles, or unusual noise as maintenance warnings. If you use hard water daily, descale about monthly; with very hard water, shorten that interval to every few weeks. Don’t wait for visible deposits inside the brewer or risk failure.
Descaler Dosage by Capacity
Use a capacity-based dosage chart to match the descaler amount to your reservoir size. Measure small and large tanks accurately, and dissolve powder in warm water rather than adding it directly.
Follow the manufacturer’s directions for powder or liquid products, since concentrations and dosing methods vary.
Capacity-Based Dosage Chart
Your coffee maker’s reservoir capacity determines how much descaler you’ll need, but the product label and machine manual should always take priority.
For a standard full reservoir, use the dose specified for that capacity; never assume one packet fits every machine. Scale liquid descaler by reservoir size: fill the tank with the prescribed vinegar-water ratio, using one part vinegar to two parts water for lighter scale when permitted, and a stronger labeled concentration for heavy deposits. For powder, dissolve the recommended dose completely before filling the reservoir; don’t sprinkle powder directly into the machine.
With pre-portioned Dezcal, use the full packet or tablet assigned to your capacity. After circulation or soaking, run the label-specified number of fresh-water rinse cycles to remove all residue completely.
Small Reservoir Measurements
For a small-reservoir drip coffee maker, scale the descaler to the tank’s capacity rather than using a full-size dose. Use about 32 ounces (1 quart) of solution as the full-reservoir guideline, then halve it for a 16-ounce tank: combine 8 ounces of descaler or vinegar concentrate with 8 ounces of water. Run the brew cycle, then let the solution soak for 30–60 minutes before draining.
If you’re using citric acid, dissolve 1–2 tablespoons for the full-reservoir guideline and reduce the amount proportionally for a smaller tank. Never add powder directly; dissolve it in warm water first to prevent clogs. Afterward, run at least two water-only cycles. Run a third if any vinegar or descaler taste or odor remains. Check your manual for dilution instructions.
Large Reservoir Measurements
When a coffee maker has a large reservoir, calculate the descaler dose from the tank’s full capacity rather than using a fixed small-machine amount. Start with 32 ounces (about 1 liter) of water and the manufacturer’s pre-portioned descaler amount, then scale both proportionally.
For citric acid, use 1-2 tablespoons per 32 ounces, adjusting according to the product instructions and mineral buildup. If you use vinegar, a full-tank formula is half white vinegar and half water; for light scale, use one part vinegar to two parts water. Dissolve any powder completely in water before filling the reservoir, and never pour it directly into the machine. Run the full-capacity cycle, then complete at least two water-only rinses. Use a third rinse if any taste remains.
Powder Versus Liquid
Choose a powdered descaler, such as Urnex Dezcal or Biocaf, when you want consistent dosing and effective scale removal. For a typical 32-ounce (about 1-quart) reservoir, dissolve the recommended powder in warm water before adding it to the tank. Never pour dry powder into the machine; undissolved crystals can clog internal lines or the spray head. Powder avoids the measurement variability common with liquid concentrates.
Match the dissolved amount to reservoir capacity rather than applying one universal dose. A larger tank needs proportionally more product; doubling capacity typically requires about twice the dissolved amount. If you use citric acid instead, start with 1–2 tablespoons per full reservoir. Run the descaling cycle, then flush the brewer with at least two full reservoirs of plain water.
Manufacturer Directions Matter
Your coffee maker’s manual and the descaler label should determine the dose, because the correct concentration depends on the reservoir’s capacity and the machine’s materials. Don’t guess by “cups” of solution. If the label specifies an amount for a full tank, measure it precisely, then add water to the maximum line.
With powder products such as Urnex Dezcal, use the packet or gram amount matched to your tank size. Too little may leave scale, while too much can leave concentrated residue. Follow your machine’s cycle-and-soak instructions exactly.
For heavy buildup, you may run the solution through the system, then let it soak for 30–60 minutes. After descaling, run at least two water-only cycles, following the manual’s guidance, before brewing coffee. Protect your next brew.
Adjusting for Brew Volume
Brew volume should directly influence your descaling schedule: if you run twice as many cycles or brew roughly twice as many cups, mineral buildup can develop about twice as quickly. Set a one-to-three-month baseline according to water hardness, then shorten it as your daily volume rises.
If you brew twice as many cups, check for scale about twice as often.
After high-volume weeks, watch for longer brew times, sputtering, pump noise, weak or sour coffee, and white flakes; descale sooner when they appear. Extra cycles for milk drinks justify monthly cleaning. Log brew dates and cups per day, then reassess every three months so you’ll match your interval to actual throughput rather than a fixed calendar. This supports timely maintenance and consistent extraction quality.
Manufacturer Warranty Restrictions
Before descaling, check your machine’s manual because using an unapproved cleaner, incorrect dilution, or improper cycle can void warranty coverage. Review the Cleaning/Descaling section for approved products, water-quality requirements, dilution, contact time, and rinse instructions. Espresso machines often prohibit vinegar because unsuitable acids can damage internal components; drip brewers may allow vinegar, but only at the stated concentration.
Treat a descale alert, slower brewing, or other maintenance prompt as a warranty requirement, not a suggestion. Remove filters or pods as directed, run the complete cycle, and follow the specified soaking time. Rinse with multiple plain-water cycles to prevent residue or off-flavors. Keep receipts, labels, and maintenance records.
If instructions conflict, contact the manufacturer before cleaning; undocumented or neglected maintenance could support a denied claim.
Vacation-Home Brewer Storage
An idle coffee maker shouldn’t hold stagnant water or damp coffee residue. Before leaving your vacation home, empty the reservoir and run the brewer until dripping stops; discard any remaining water.
For absences longer than a few days, remove, rinse, and air-dry all coffee-contact parts, including the filter basket, carafe, and drip tray. Wash each part and let everything fully dry completely before reassembling, which limits mold and corrosion.
When you return, inspect the machine for residue and run two or three water-only brew cycles. This flushes deposits and removes a musty taste before you brew coffee. If you see white flakes or notice longer brew times, descale. Hard-water homes may need monthly descaling; otherwise, extend the interval according to water hardness and use.
Misaligned Water Reservoir Lid
If the water-reservoir lid doesn’t align or seat fully, the brewer may leak, spray, or sputter instead of feeding water smoothly through the system. Stop brewing and remove the reservoir before checking the fit.
- Check that the lid clicks fully into place; don’t force it if the hinge binds.
- Wipe the reservoir rim and lid contact surfaces clean and dry; residue can prevent a flush seal.
- Refill only after confirming the reservoir sits level and the lid remains closed without gaps.
- If leakage continues, inspect the gasket and hinge for cracks, distortion, or wear; replace damaged parts.
Persistent misalignment can cause noisy pump operation and inconsistent water uptake. Correct the seating before brewing, and replace a compromised seal to restore consistent water flow again.
Water-Only Rinse Procedure
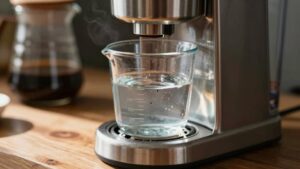
Once descaling is complete, run a full water-only cycle to flush residual solution from the reservoir, heating system, spray head, and internal tubing. Discard the first rinse water, then refill the reservoir with plain water. Run at least two more water-only cycles; use a third if you still notice vinegar odor. Use only water: omit coffee grounds, filters, and descaler so your next brew tastes clean.
Follow this sequence:
- Empty and rinse the carafe and removable parts after cycling.
- Inspect the spray head for lingering odor or visible residue.
- Add fresh water before each cycle to maintain dilution.
- Perform extra rinses after heavy scale buildup or persistent smell.
Confirm the final water smells neutral, then reassemble dry parts and resume brewing without adding grounds until rinsing finishes.
Conclusion
Keep your coffee maker reliable by matching cleaning tasks to your brewing habits and water quality. Empty and rinse it daily, wash removable parts weekly, and descale according to your brewer’s chart, capacity, and mineral buildup.
Use the manufacturer-approved solution and dosage; you’ll protect your warranty and avoid damage. Before storage, dry the machine thoroughly; after returning, run water-only rinses. If the reservoir lid sits incorrectly, correct it before brewing to prevent leaks and contamination.