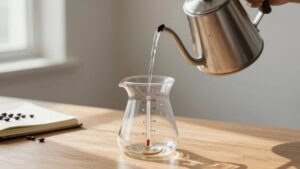
Kettle Temperature Accuracy Test
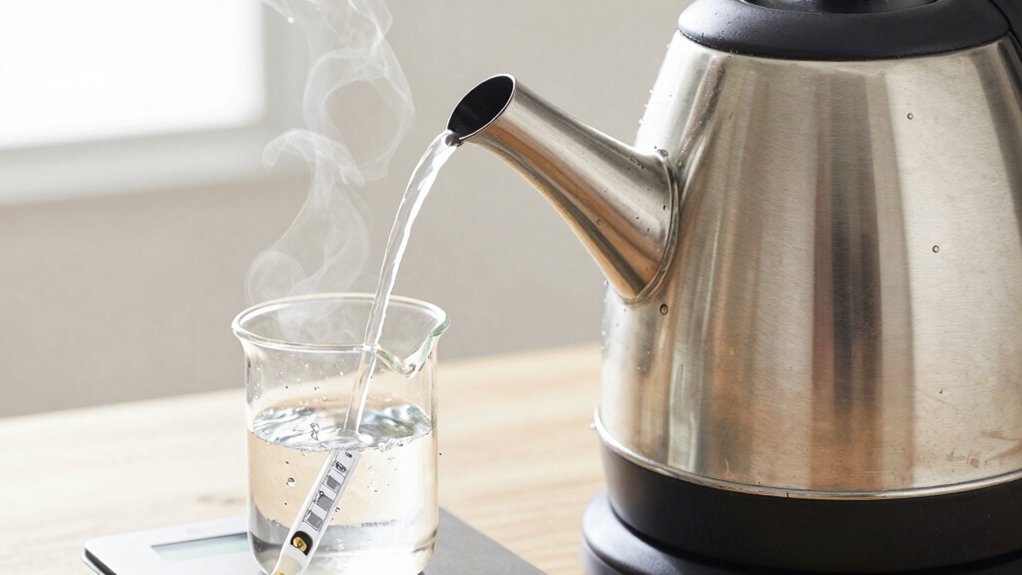
You’ll verify your kettle’s displayed temperature by boiling water and comparing it to the expected boiling point for your elevation and local barometric pressure. Use ~1.1°F lower per 500 ft as a rule, or an altitude table, and record the measured offset. Consistent +10–20°F errors indicate sensor or insulation bias.
Also, perform an ice-bath zero check for probe drift. Log verification dates on a durable calibration sticker, and follow a recheck cadence to learn how to correct and document offsets.
Quick Overview
- Use local elevation or barometric pressure to calculate the expected boiling point, since boiling drops approximately 1.1°F per 500 ft.
- Verify thermometer zero with an ice bath before performing a boiling-point accuracy test.
- Boil water in a controlled vessel. Record the kettle display and compare it to the elevation-corrected boiling target.
- Treat consistent display deviations of +10–20°F or beyond instrument tolerance as actionable calibration or insulation issues.
- Apply results to a weatherproof calibration sticker showing measured offset, verification method, and next due date.
Boil-Point Accuracy Chart
Where does water actually boil where you are? You need a concise boil-point accuracy chart to apply an altitude correction and guide your calibration reminder routine. Use local elevation to compute expected boiling point: roughly 1.1°F lower per 500 ft. Compare your kettle display against that reference to detect sensor bias or insulation effects.
| Reference | Boiling Point (°F) |
|---|---|
| Sea Level | 212°F |
| 5,000 ft | 202°F |
| 10,000 ft | 194°F |
| 6,000 ft | 200°F |
Treat deviations beyond instrument tolerance as actionable. A consistent +10–20°F display error indicates display sensor or insulation-induced bias. Record readings, apply altitude correction, and schedule calibration or repair when errors exceed spec.
Calibration Reminder Sticker
After you’ve compared kettle readings to the boil-point chart and logged any consistent offsets, apply that data to a small, durable calibration reminder sticker you’ll affix to the kettle or its storage case. You’ll record the offset, last verification method (ice bath or boil), and next due date. Keep entries concise and legible.
- Offset: +2°F at 212°F
- Method: ice bath verified 32°F; boiling cross-check
- Next check: 12 months (calibration intervals noted)
Design the sticker to show: measured offset, verification date, and prescribed calibration intervals. Use weatherproof material and clear typography. Place it where you can read it while handling the kettle.
Update immediately after any drop or repair. The sticker becomes an audit trail that enforces routine, analytical maintenance.
Altitude Correction Table
You should account for how altitude lowers boiling point and how barometric pressure shifts that relationship when calibrating kettles. Use a correction table to convert elevation or pressure into the expected boiling temperature. Then apply that value to adjust your thermometer readings or setpoints.
I’ll show worked temperature-adjustment examples and concise high-altitude brewing tips to make the table practical.
Altitude Boiling Point Changes
Because atmospheric pressure falls as elevation rises, the boiling point of water drops predictably with altitude. You should account for that change when calibrating thermometers using boiling water. You’ll use an altitude correction table to convert elevation to expected boiling temperature; this quantifies altitude impact on boiling dynamics so your reference point is accurate.
Consult the table, set the calculated boiling temperature as your calibration target, then perform the boiling-water test under controlled pot geometry and water composition to minimize confounders. Record measured temperature, compare against the table-derived target, and note any systematic offset. Use offsets to adjust instrument calibration or to flag instruments that exceed acceptable tolerance for your intended precision.
Pressure And Boiling Point
How does atmospheric pressure change the temperature at which water boils? You measure boiling point as a direct function of ambient pressure: lower pressure reduces boiling temperature; higher pressure raises it. For calibration, you quantify local barometric pressure, convert it to an expected boiling point, and apply an altitude correction to reconcile measured and theoretical values.
You’ll treat pressure as the independent variable and boiling temperature as the dependent variable, using standardized equations or reliable calculators to compute corrections. When testing kettles, control for pressure by recording elevation and current barometric reading. Then compute the altitude correction to set your target boiling temperature. This methodical approach keeps calibration comparisons consistent across locations and conditions.
Correction Table Usage
Having quantified how barometric pressure shifts the boiling point, apply an altitude correction table to convert elevation or pressure readings into an expected boiling temperature for calibration. Use the table methodically: locate your elevation or measured pressure, read the corresponding boiling temperature, and record that target for kettle checks.
You’ll compare the kettle’s boiling reading to the table-derived value rather than 212°F. Prioritize calibration stability by repeating the measurement and averaging multiple trials; that reduces random error. When you perform ice bath verification, confirm thermometer baseline at 32°F first to isolate thermometer error.
Document table source, date, and any interpolation you perform. This disciplined approach keeps calibration traceable and minimizes altitude-related miscalibration.
Temperature Adjustment Examples
Want a clear example of how altitude changes your target boiling temperature? You’ll consult an altitude correction table, note the local boiling point, and compute the adjustment to reach your desired kettle setpoint.
Using the ice bath to confirm thermometer zero offsets first ensures your baseline is correct. Record measured boiling point, subtract table value to get error, then apply that offset to future kettles.
Maintain a strict calibration cadence: check after any shock, monthly for regular use, and annually otherwise. Example: at 5,000 ft, the boiling point drops ~9°F. If your thermometer reads 203°F when the table expects 203°F but calculation says 212°F, you’ll increase setpoint by 9°F.
Log each adjustment and retest.
High-Altitude Brewing Tips
Why does altitude matter for your brew kettle? At higher elevations, reduced atmospheric pressure lowers the boiling temperature. You must adjust target temperatures and timing using a simple altitude correction table.
Calculate the local boiling point, then subtract the table offset from recipes that assume sea level. Verify thermometer accuracy with an ice bath to eliminate calibration drift before field adjustments. Use the corrected boiling point for calibration checks and note pot shape and water hardness as secondary modifiers.
Record measured offsets for your kettle and apply them consistently when aiming for specific extraction temperatures. Recheck sensors annually or after impact. Methodical logging and routine ice bath verification keep adjustments reliable, and they let you reproduce brews across varying elevations.
Frequently Asked Questions
How Often Should I Recalibrate My Kettle Thermometer?
You should recalibrate your kettle thermometer annually, or immediately after any shock or suspect drift. Use the ice bath and boiling-point checks to verify calibration frequency and thermometer accuracy. New units get checked at purchase. Frequent-use kettles or those used for precise brewing deserve semiannual checks.
If readings fall outside manufacturer specs, recalibrate or repair promptly. Keep a log of tests, results, and corrective actions to track long-term stability.
Can Hard Water Damage Internal Sensors Over Time?
Yes, hard water can damage internal sensors over time through sensor corrosion and scale buildup. You’ll see degraded responsiveness, offset readings, and eventual failure if mineral deposits accumulate on sensing elements or contacts.
Inspect periodically; descale according to manufacturer guidance. Use filtered water to reduce mineral load. For kettles with exposed probes or thin protective coatings, prioritize maintenance. Replacing corroded sensors restores accuracy and prevents progressive malfunction.
Is My Kettle Display Affected by Ambient Kitchen Temperature?
Yes, your kettle display can be affected by ambient kitchen temperature. You’ll observe calibration drift when enclosure temperature shifts; this causes sensor offsets and display error.
Quantify ambient effects by stabilizing room temperature, performing ice-bath and boiling-point checks, and logging readings over time. If drift exceeds manufacturer specs, recalibrate or service the unit. Regular controlled checks will reveal whether ambient conditions or internal degradation drive the discrepancy.
Do Wireless Kettle Probes Need Separate Calibration?
Yes, wireless probes need separate calibration. You should treat each probe individually because sensors and transmitters can drift differently. Establish a calibration frequency based on use: check new units on purchase, then annually for regular use or immediately after drops or suspect readings.
Use ice-bath and boiled-water references to verify accuracy. Document results, and recalibrate or repair probes that fall outside manufacturer tolerances.
Can Insulation (Brewcoat) Void My Kettle Warranty?
Yes, adding a brewcoat can void your warranty if the manufacturer lists insulation impact or warranty exclusions. You should review terms carefully; many makers exclude damage from third-party mods, altered heat transfer, or blocked vents.
Document factory condition, keep receipts, and ask support in writing before fitting insulation. If warranty matters, rely on approved accessories or professional installation to avoid triggering exclusions that could deny repair or replacement.
Conclusion
You’ve now got the tools to check and correct your kettle’s boil reading precisely. Use the Boil-Point Accuracy Chart and your Calibration Reminder Sticker to track deviations. Then apply the Altitude Correction Table and Pressure/Boiling Point relationships to compute the true boil temperature.
Follow the Correction Table Usage and Temperature Adjustment Examples methodically. Adopt the High-Altitude Brewing Tips when needed. Regular checks and systematic adjustments will keep your kettle accurate and your brews consistent.