Types of Coffee Makers Explained: A Beginner’s Complete Guide
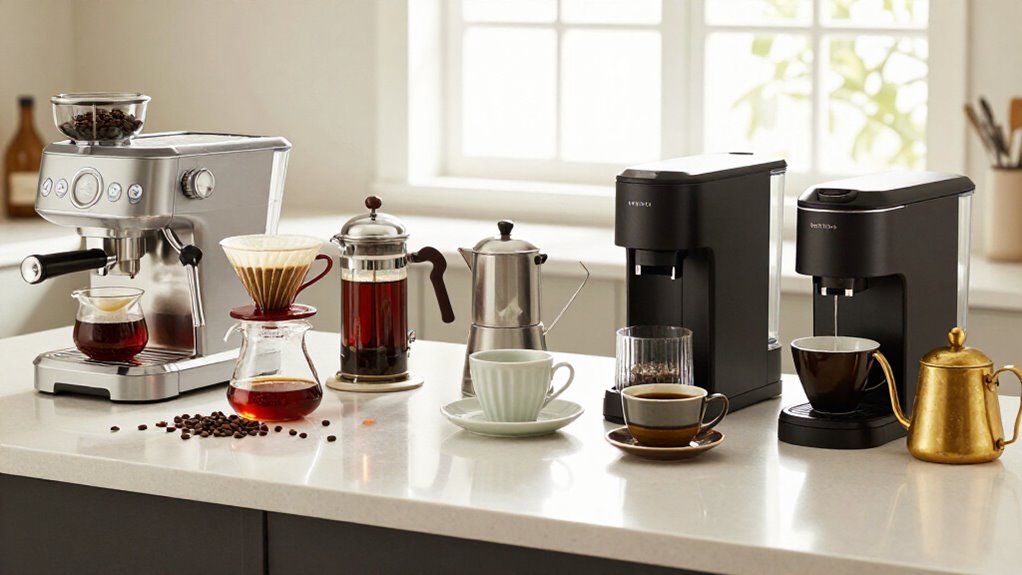
You can choose among stovetop ibriks and moka pots, manual levers, semi-automatics, and super-automatic machines.
You get concentrated espresso at about nine bars, balanced drip coffee, nuanced pour-over, full-bodied French press, or flexible AeroPress cups.
Capsule machines maximize convenience but limit freshness, choice, and create waste.
For cold brew, steep coarse grounds in cold water for 12–18 hours.
Choose single-cup control or batch capacity, use clean water, and descale regularly.
You’ll find India’s best fit.
Ibriks to Super Automatics
From the unfiltered, stovetop brewing of an ibrik to the automated grinding, dosing, extraction, and milk steaming of a super-automatic machine, coffee makers span a wide range of technologies and user involvement.
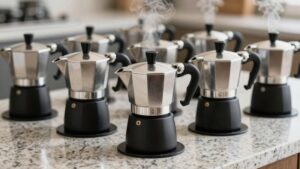
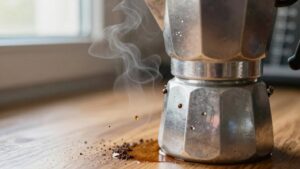
You can choose a traditional ibrik, a small long-handled pot that heats finely ground coffee and water slowly, or a moka pot, which uses steam pressure of roughly one to two bar to push water through a basket. Manual lever espresso machines let you apply pressure directly, demanding control over dose, grind, and tamp. Semi-automatic models use pumps while you manage dosing and tamping; automatic machines control shot volume.
Super-automatic bean-to-cup systems grind beans, dose, brew coffee, and steam milk internally, but they’ll limit your control over extraction variables. Whichever you select, match the machine’s complexity to your skills, routine, cleaning commitment, and desired level of hands-on control.
Flavor Profiles by Method
How a brewer extracts coffee determines its flavor, body, and strength. Espresso’s concentrated intensity emerges when 9 bars force hot water through fine grounds. Drip makers deliver a milder, balanced cup through slow, even flow near 200°F.
Compare these profiles:
| Method | What you’ll taste |
|---|---|
| Espresso | Dense, strong, roast-forward; ideal for milk drinks |
| Drip | Clean, balanced, approachable black coffee |
| Pour-over | Clear, nuanced, aromatic; you control extraction |
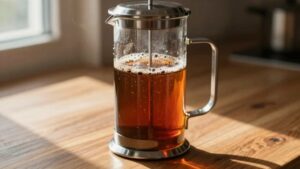
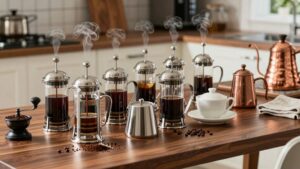
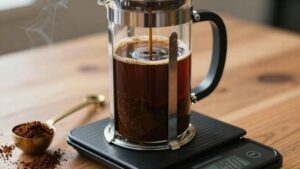
Pour-over gives you clarity and nuanced aromatics because you control pour rate and pattern. French press produces heavier body and more oils through immersion; plunge at four minutes to limit continued extraction.
AeroPress offers a smooth, flexible cup: steep, stir, and press after roughly 30 seconds, typically yielding up to 250 ml. Your grind, temperature, ratio, and filter determine balance.
Capsule Convenience, Cold Brew
You insert a prepackaged capsule and press a button for fast, low-mess coffee, with pod styles ranging from ristretto to lungo. Although capsules simplify brewing and offer variety, they limit freshness and choice, cost more over time, and create packaging waste.
For a smoother, lower-acidity drink, you can steep coarse grounds in cold water for 12–18 hours using a dedicated brewer or filtration setup.
Capsule Machine Basics
Because capsule machines use pre-portioned coffee sealed in single-use pods, they brew a cup with minimal measuring, grinding, or cleanup: insert the capsule, select a setting, and press a button. You’ll choose a short ristretto-style serving or a longer lungo-style cup, while the machine controls water delivery and extraction automatically. Because the capsule fixes the dose and coffee formulation, you’ll have less ability to adjust strength or flavor than with freshly ground coffee.
Some models include integrated milk frothers, but you may prefer a separate frother for more reliable texture control.
True cold brew requires grounds to steep in cold water for roughly 12-18 hours. A capsule brewer isn’t designed for that process, so you’ll need a dedicated cold-brew setup or a compatible system.
Pod Variety And Convenience
Beyond the basic insert-and-brew workflow, pod systems offer convenient serving options, from short ristretto-style drinks to longer lungo cups, without requiring grinding, measuring, or extensive cleanup. You can select capsule formats for different drink volumes, while one-touch controls deliver repeatable results quickly. However, pre-measured dosing limits your control over grind size, dose, and extraction, so flavor usually feels less nuanced than coffee brewed from freshly ground beans.
Compact designs suit small kitchens, and integrated milk frothers can prepare café-style milk drinks with little effort.
Cold brew gives you another convenient option. Steep coarse coffee grounds in cold water for 12–18 hours to produce a smooth, low-acidity concentrate. You can use a dedicated brewer or jar; dedicated designs simplify filtration and reduce sediment in your serving.
Capsule Costs And Waste
Although capsule machines make coffee nearly effortless, that convenience comes with higher per-cup costs than whole beans or ground coffee. Each drink also consumes a single-use capsule and its packaging, creating recurring plastic or aluminum waste that reusable grounds filters largely avoid. You may reduce expense by choosing third-party compatible pods, but check whether your machine accepts them; compatibility can restrict bean selection and brewing flexibility.
Compostable programs can lower landfill impact, although availability varies by brand and region, and compostable pods often have shorter expiry dates. Because capsules offer fixed doses and limited grind control, you can’t tune strength as precisely as with drip or pour-over equipment. For hot-weather drinks, capsules aren’t a substitute for true cold brew for chilled drinks at home.
Cold Brew Fundamentals
Capsules offer mix-and-go convenience, but true cold brew depends on steeping coarse coffee grounds in cold water for 12 to 18 hours, not hot-water extraction. This extended contact time produces a smoother, lower-acidity cup than hot-brewed coffee. You’ll usually serve it over ice, making cold brew revitalizing in warm weather or suitable when you prefer less tang and acid bite.
You can prepare a concentrate and dilute it to taste, but the defining variable remains cold, prolonged extraction. Capsule systems may simplify preparation, yet a pod brewed with hot water isn’t true cold brew; it’s chilled coffee. For reliable results, keep the grounds coarse, maintain cold water throughout steeping, and allow the 12 to 18-hour window. After filtration, refrigerate the coffee and use it promptly for flavor.
Cold Brew Equipment Options
For cold brew, you’ll choose among dedicated brewers, DIY steeping jars, slow-drip towers, and capsule systems. A dedicated maker gives you the easiest starting point: its integrated filter simplifies separation, reduces sediment, and makes cleanup more manageable. You’ll add coarse grounds and cold water, then steep for 12–18 hours.
A jar costs less, but you’ll handle filtration separately, so the process takes more time and creates more mess. A cold-drip tower releases water slowly through coffee, producing a visually engaging, hobby-oriented setup rather than a quick daily appliance. If speed and minimal cleanup matter most, a pod machine with milk-frothing capability offers capsule convenience. However, you’ll accept less freshness and bean variety. Choose the equipment that matches your budget, cleanup tolerance, and preparation routine.
Comparing Capsule And Cold Brew
When speed and consistency matter most, a capsule machine delivers a single cup with minimal mess, while cold brew requires coarse grounds, cold water, and a 12 to 18-hour steep before filtration. You’ll insert a pre-measured pod and press a button, but limited grind and dose control can reduce flavor compared with fresh coffee. Pods also cost more over time, although compatible third-party capsules and bulk packs can lower expenses.
Choose cold brew when you prefer smoother, lower-acidity coffee for iced drinks or hot weather. A dedicated brewer simplifies filtration and cleanup more than a jar; a cold-drip tower offers a slower, hobbyist process. You’ll need planning and refrigeration, but concentrate can provide servings. Select capsules for consistency, choose cold brew for flavor, volume, and refreshment.
Single-Cup vs. Batch Brewing
Choose single-cup brewing for roughly 250 ml, faster preparation, and precise control over each cup’s grind, dose, and timing. Choose batch brewing for about 500 ml to 2 litres when you need multiple servings, consistent results, and features such as bloom pauses or auto-start.
You’ll minimize waste and maximize freshness with single cups, while a thermal-carafe batch brewer may offer better value and convenience for regular group use.
Brewing Capacity and Speed
Your brewing routine determines whether a single-cup or batch brewer makes more sense. A single-cup brewer, such as a pour-over dripper or AeroPress, typically prepares one serving at a time. The AeroPress commonly yields up to about 250 milliliters per brew, so it’s suited to solo use.
Batch brewers, including drip machines and larger pour-over systems, brew into a carafe or thermal jug for multiple servings. Automatic drip models often handle roughly 500 milliliters to 2 liters, making them practical for families or guests.
Batch brewing can be faster in practice. You can program a timer, then let the machine heat water, distribute it through the showerhead, and deliver coffee to the carafe. Choose single-cup brewing for one drinker; choose batch brewing when volume matters most.
Freshness in Every Cup
Brewing speed and capacity also affect how fresh each cup tastes. When you grind and brew a single serving immediately, you minimize exposure to oxygen and avoid prolonged heating. An AeroPress produces up to about 250 milliliters, making it suited to one fresh cup. You can use a pour-over brewer over your mug for single-serving freshness.
Batch brewing supplies roughly 500 milliliters to 2 liters for families or guests, but flavor can shift as the coffee sits. Continued heat and time may dull aromatics and alter extraction, especially in a glass carafe on a hotplate. A thermal jug preserves quality for hours by limiting temperature loss without heating. If freshness matters most, you’ll brew smaller batches more often, or prepare each cup before drinking.
Convenience and Control
If you value customization and a fresh cup, a single-cup brewer such as an AeroPress or pour-over setup gives you direct control over each serving, although an AeroPress typically produces only about 250 ml. You can adjust a pour-over’s pour rate and grind size, while an AeroPress offers rapid, flexible recipes. These methods suit solo routines, but you’ll brew again when others want coffee.
Choose a batch brewer when you need several servings with minimal effort. An auto-drip machine heats water and distributes it across grounds before collecting roughly 500 milliliters to 2 liters in a carafe. Automation reduces variability in heating and flow, yet you’ll manage the carafe and holding method: a thermal jug preserves temperature better than a hotplate for group use.
Cost and Waste Comparison
Cost and waste depend less on brewer size than on how closely each batch matches what you’ll drink. Single-cup brewing uses one filter or pod per serving. If you brew only what you need, you’ll avoid stale leftovers and reduce filter use across the day. However, pods add packaging cost and plastic or aluminum waste; reusable or return programs can reduce it, depending on local availability.
Batch brewing, from about 500 milliliters to 2 liters, uses fewer heating cycles per liter and avoids capsule packaging. Yet, if you can’t finish the coffee before it goes stale, you’ll discard more brewed coffee. Paper filters remain a main waste. Cold brew takes 12 to 18 hours and works best in batches, so store concentrate to prevent unused leftovers.
Espresso Requires a Grinder
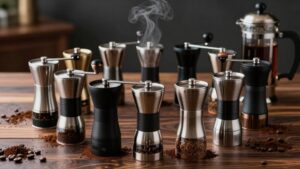
Espresso starts with a fine, consistent grind, so you’ll need a burr grinder to prepare coffee that extracts evenly under roughly 9 bars of pressure. You’ll then adjust grind size, dose, and brewing time together, because small changes can shift extraction from balanced to bitter or sour. Pre-ground coffee usually lacks the consistency and freshness espresso demands, limiting your ability to correct flow.
If you’re using a manual or semi-automatic machine, weigh each dose and distribute grounds evenly before tamping. A reasonable beginner budget includes at least £50 for a decent burr grinder, plus fresh whole beans. Whole beans let you grind immediately before brewing, preserving volatile aromas and enabling repeatable adjustments. Fully automatic bean-to-cup machines grind internally, but they’ll still need whole beans.
Water Quality and Descaling
Water quality directly affects extraction and machine longevity, so use clean, low-mineral water whenever possible. Hard water can reduce extraction quality and accelerate limescale buildup in kettles, drip machines, and espresso boilers. Scale insulates heating elements and boilers, slowing heating and destabilizing brew temperature.
Descale your machine on its recommended schedule, or when flow, heating, or brewing performance changes. Use a coffee-equipment descaling solution rather than vinegar, which may damage some components. If your water is very hard, install a carbon or in-line filter and shorten the descaling interval.
Follow the manufacturer’s instructions for dosage and contact time. After descaling, run several full cleaning-water cycles as directed to flush residue. This prevents descaler from affecting taste and helps preserve reliable operation and service life.
Sediment Isn’t a Mistake
When you find sediment at the bottom of your coffee, it usually consists of fine particles that passed through the grounds bed or filter, not evidence of a brewing mistake. Your brewing method determines how much remains. Very fine grounds and vigorous agitation release more fines, which settle as gritty material. Paper filters, such as those in V60 or Chemex brewers, remove the most sediment.
Metal filters and immersion methods let more oils and particles through.
If the sediment adds only texture, it’s normal for that brewer. A bitter or harsh taste, however, can signal over-extraction or an overly fine grind. To reduce sediment without sacrificing flavor, choose a slightly coarser grind, pour more gently, and use the filter type designed for your coffee maker.
Best for Indian Kitchens
For most Indian kitchens, a traditional South Indian filter coffee maker is the practical choice: its metal filter produces a strong, concentrated decoction without electricity or high-pressure equipment. You’ll typically mix the decoction with hot milk for a creamy, robust cup. Choose according to your routine:
- Black coffee: Use a pour-over or drip machine for clean, low-fuss brewing without espresso’s learning curve.
- Family batches: An auto-drip model with a timer, dial-a-brew controls, and 500-millilitre-to-2-litre capacity serves households consistently.
- Convenience: A capsule machine reduces cleanup, but pods cost more and limit flavor adjustment.
For most kitchens, the South Indian filter offers the best balance of affordability, durability, and compatibility with milk-based preparation; a moka pot requires stovetop heat and a different technique.
Conclusion
Choosing a coffee maker becomes simpler when you match the method to your routine, palate, and kitchen. You’ll get concentrated flavor from espresso machines, clarity from pour-over, convenience from capsules, and volume from batch brewers. If you choose an automatic model, maintain its grinder, water path, and brew temperature.
Use filtered water, descale on schedule, and accept some sediment where the method produces it. Start with your needs, then invest wisely for lasting performance.